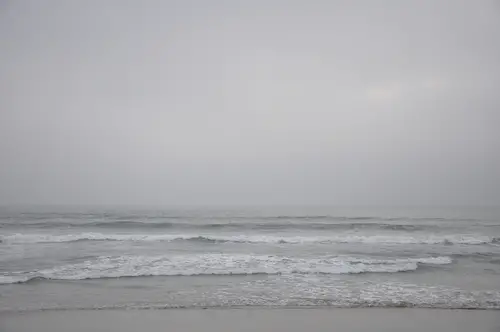
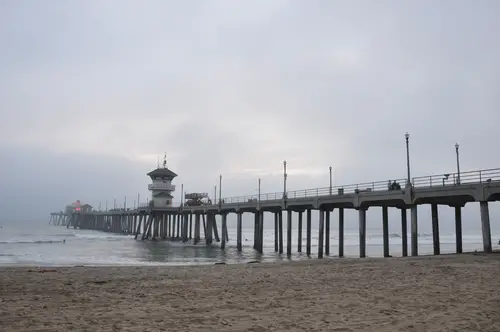
First off what do textures do? Well, things like this…
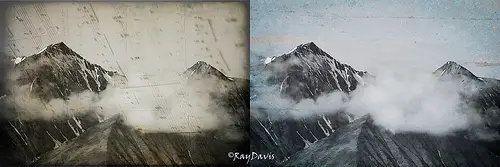
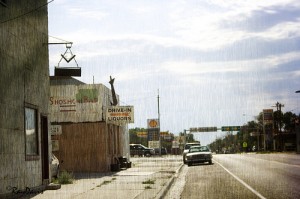
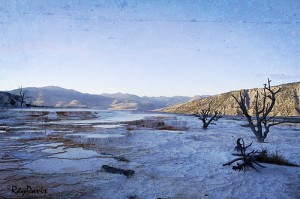
Some are more subtle than others, obviously! So how do you add them to your photos? The easiest way is to use textures that other people have created. Some are free and some you need to pay for but either way this is what you need to do with them once you’ve downloaded them:
1. Open both the texture and the photo you want to edit in Photoshop. Click on the photo and check it’s dimensions.
2. Change the dimensions of the texture so that it’s as close to the same size as you can get it ( you can uncheck the constrain proportions box if you need to).
3. Still with the texture selected (rather than the photo) press Ctrl+A or Cmd+A (or go to file, select all) and little running lines should appear around the texture.
4. Press Ctrl+C or Cmd+C (or go edit, copy).
5. Select the photo and press Ctrl+V or Cmd+V (or go to edit, paste). The texture will be pasted over the photo so all you’ll see is the texture and not the photo underneath.


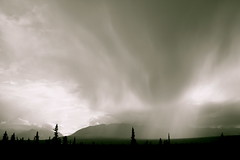 Sometimes a photo just looks better in black and white. You know, from time to time you’ll be digitally rifling through a folder of photographs and there’ll be one or two that just don’t suit being in glorious technicolour. So what to do? Well here are a few tips: