Photography has become a part of our lives. We’re taking images every day, sharing them with friends and family, and quietly encouraging others to do so without even realizing it, resulting in an incredible amount of photos being taken globally.
Pressing the shutter release button starts a chain reaction inside a camera, leading to an image being recorded. It’s a series of events that happen one after the other inside the camera, all triggered by pressing the shutter release button. It’s like a domino effect – smooth and efficient.
Ever wondered what exactly transpires inside a camera during that process of image-making? Did you ever want to know how a camera captures an image? Today, we’ll learn all about that and more.
How Does a Camera Work?
The camera is a light-tight box with a small hole at one end. Light enters the camera through that hole, and an image is formed on a photographic medium. This is the simplest explanation of the inner functions of a camera. However, beyond this simple explanation, about a hundred different processes happen like clockwork.
From Light to Image, How Is an Image Formed Inside a Camera?
Thanks to the arrival of powerful smartphones with built-in camera systems, there is a capable camera in almost every hand around the globe. If the Kodak Brownie brought photography to the average consumer, smartphones have definitely brought photography within everyone’s reach.
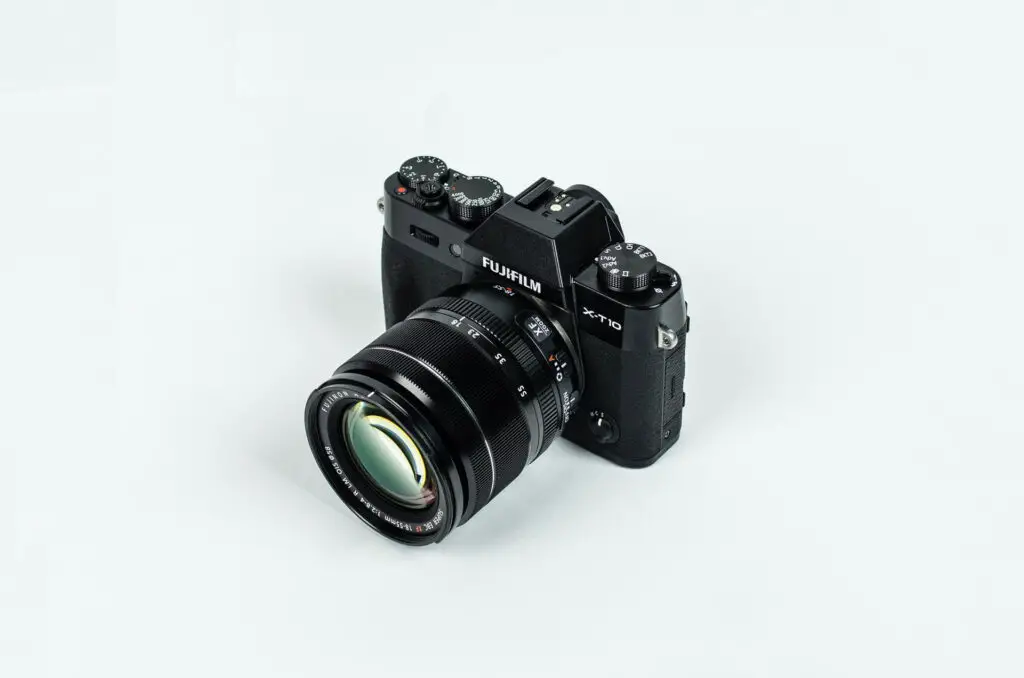
Regardless of the make or model of the camera that you look at, it’s essentially made up of three main parts. We can segregate them into the lens, the camera body, and the light-sensitive medium, which converts optical signals into electronic information.
Light rays enter the camera through the lens. They pass through the camera body and hit the sensor at the back of the camera, where the image is formed.
Let’s take a closer look at each of these components to try and find out exactly the role that each of them plays in the image-making process.
Part 1 – The Lens: Capturing Light Rays

The first part of the camera deals with the light rays coming into the camera. It does so through the lens barrel.
The lens barrel has optical glass elements. The job of these glass elements is to accumulate the scattered light rays and funnel them onto the film or the image sensor at the back of the camera to produce an image.
Apart from that, there are some other glass elements that help to focus the image.
On top of these, there are many other elements as well, and they each have specific roles to perform. These include ED elements that help in correcting chromatic aberrations, VR elements to counter image shake, and so on.
One of the essential features of your lens is the zoom function. Not all lenses have that functionality, though. Lenses that cannot zoom are known as prime lenses.
When you turn the zoom ring on the body of the lens, certain elements inside the lens barrel move backward and front. This movement has a magnifying effect on the image. So, when you zoom in, the subject appears larger, and when you zoom out, the subject appears smaller.
Part 2 – The Digital Camera Sensor
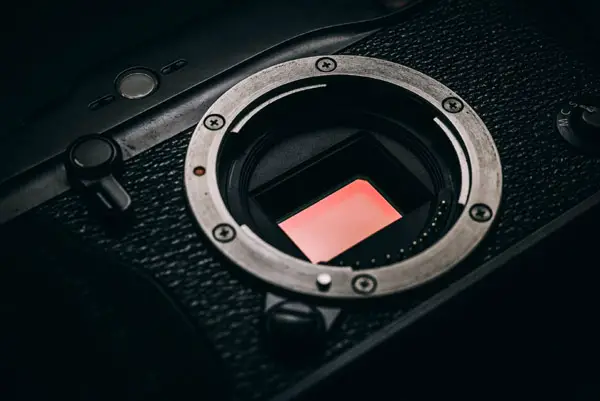
The digital sensor is the most essential aspect of your camera. It’s the digital sensor that captures light and transforms it into electrical signals. In the older days, there was photographic film in place of the digital sensor.
I’ll discuss the photographic film right after this.
The digital sensor is made up of a thin board. On one side of the board are an array of light-sensitive photodiodes. The other side of the sensor has the wiring bit.
On some older camera systems, the wiring happened to be on the same side as the photodiodes. This was fundamentally a poor design. This led to a lot of cluttering and resulted in the loss of light and an increased amount of noise.
Modern camera sensors are designed better. They are designed using a stacked architecture that further reduces noise and improves the quality of the images. Plus, the backside-illuminated design ensures that the photodiodes are able to collect a lot more light and, as a result, produce cleaner images.
I will discuss in detail how a typical image sensor works in a subsequent heading below.
Camera Film
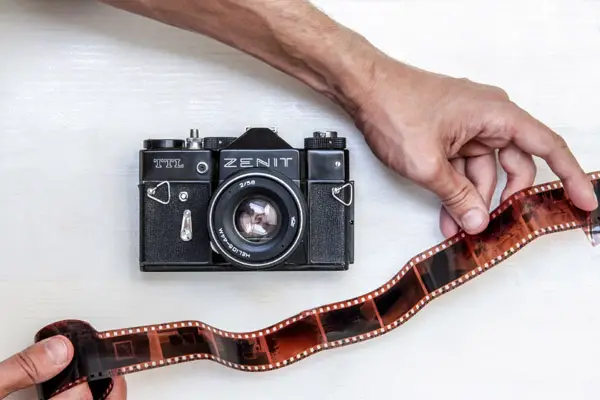
Before the digital sensor, there was photographic film. The photographic film was popularized and mass-produced during the time of George Eastman. But during the initial days of photographic film, it was not made using a plastic material. Instead, it was made with paper. Nitrocellulose-based transparent film started in 1889.
Modern photographic film is a thin strip of transparent film base with one side coated with a gelatin emulsion layer. Silver halide crystals are used in that emulsion. This silver halide crystal determines the light sensitivity of the coated surface, the resolution, and the overall image quality.
Darkroom
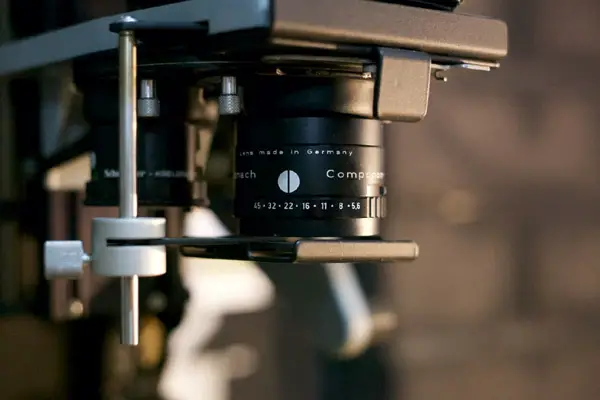
The darkroom is associated with the development and printing of photographic film. It’s an age-old process that has now been rendered useless because of the advent of digital sensors and in-camera image processing.
A dark room is a light-tight room that is used to develop the rolls of film shot.
A series of chemical baths are prepared, and the negative is bathed in those solutions to initiate the development and when the development process is done to stop further development. The first solution is known as a Developer and the second one is a Stop Bath.
Once the rolls of film are developed, they’re then printed using printing paper. An enlarger is used to transfer light through it and onto a photographic paper containing light-sensitive silver halide.
Part 3 – The Camera Body
The camera forms the main body of your photography unit.
There are many different types of camera systems in use. I will not get into too much detail about those aspects here.
In a broad sense, the camera systems can be divided into two segments – (a) those with an interchangeable lens system and (b) those with a fixed lens system.
Both are popular, and both have their advantages and disadvantages. But the first one (those with an interchangeable lens system have become the most dominant).
These camera systems have a lens mount, meaning you can swap lenses and choose which lens to go to in a particular shooting situation. Thus, the name interchangeable lens cameras.
There are two major types of interchangeable lens camera systems currently in use – (a) DSLRs and (b) Mirrorless.
The Mechanics of a DSLR Camera and How It Works
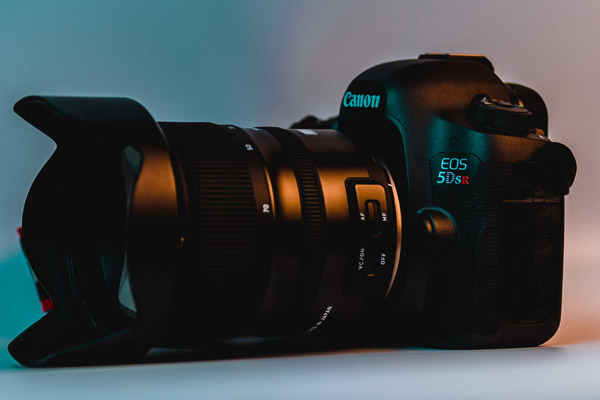
Let’s look at the physics of how an image is formed inside one of these camera systems. Both DSLRs and mirrorless systems have one thing in common: the digital sensor at the back of the camera. They also have one big difference, and that’s the reflex mirror. DSLRs have those, and mirrorless cameras don’t. That also explains why a DSLR has an optical viewfinder, and a mirrorless camera has an electronic viewfinder.
Both camera systems being pretty similar; I will take a DSLR to explain the actual process of image-making in one of these camera systems.
The Lens
As has already been explained before, DSLR stands for digital single-lens reflex. The word reflex stands for the reflex mirror inside the camera. When you look through the viewfinder of a DSLR camera, the view you’re looking at is that which is produced by the light entering the camera and getting reflected via the reflex mirror.
By now, you are aware that the lens barrel allows light to get inside the camera. The lens has a small opening known as an aperture. This aperture size can be controlled using a set of mechanical and electronic controls on a camera.
The larger the opening of the aperture, the more the quantity of light that enters the camera and vice versa.
The Reflex Mirror
After entering the lens barrel, the light hits a reflex camera. This reflex camera is set at an angle of 45 degrees to facilitate the reflection of the light upward at an angle of 90 degrees.
After getting reflected by the reflex mirror, it is further reflected by a pentamirror or a pentaprism, depending on the type of DSLR camera you have. After reflection, the light is then routed through the viewfinder at the back of the camera. This is the view that you can see when you’re looking through the viewfinder.
But that is not all. When you press the shutter button, the reflex mirror sitting in front of the image sensor swings upwards and away from the path of the incoming light. The light now has a clear path towards the sensor at the back of the camera.
The Shutter Curtains
But before that can happen, the shutter curtains need to open. There are two shutter curtains on any DSLR camera. The first one opens to allow light in and reach the sensor. The second one follows right after to close the opening. After the image-making process is complete, both the curtains reset and are ready for the next shot.
The Image Sensor
The final process happens when the light rays reach the image sensor. Each photodiode on the image sensor can be compared to a bucket collecting water. Except, in this case, the photodiodes are collecting photons.
The photons are converted into electronic information. It’s pertinent to mention that each photodiode is covered with a filter that allows only one of the three primary colors to filter through. The rest of the colors are all discarded.
The photodiodes are arranged in an array where the three primary colors – blue, green, and red are collected. Interestingly there are twice as many green filters as red or blue filters. The reason being that the human eye is more susceptible to seeing the green color than the red or blue colors. Having twice as many green pixels allows for a cleaner and more natural-looking image.
The Process of Autofocusing Using Phase-Detection Autofocusing
The process of autofocusing is a relatively new technology in cameras. I don’t have the scope to discuss everything about autofocusing and its history here. I can say that autofocusing on early DSLR camera systems was dependent on the lens mechanism where a beam splitter was used to split the light beams coming into the camera and hitting the main reflex mirror.
After hitting the main reflex mirror, the light was redirected onto an autofocusing sensor at the bottom of the camera. The split beam hit a secondary mirror before reaching that autofocusing sensor. This is a very complex technology that depends on the mechanical efficiency of the camera’s design.
Phase Detection Autofocusing Technology and Its Latest Improvements
The only major setback of the traditional phase-detection autofocusing mechanism is that with the camera in live view mode, it does not work. Camera manufacturers had to rely on the older and slower contrast detection autofocusing mechanism to lock focus in live view mode.
Modern DSLR camera systems use upgraded phase-detection autofocusing technology. The technology uses an on-chip phase detection autofocusing design built onto the main sensor chip.
Canon was the first camera brand with this new autofocusing technology. They named it Dual Pixel Auto Focus. Today a majority of camera manufacturers use the same technology in different forms. You can find similar technology in smartphones.
Concluding Thoughts
The internal process of a camera is a testimony to the ingenuity of the human mind. From its humble beginnings some 2000 years ago, when camera obscura was first discovered, to the modern marvel that’s a mirrorless camera, the technology has come a long way. And with it has evolved the process of image-making.
However, what hasn’t changed are the basic principles of image-making, the rules, and the guidelines. It’s still the human mind where the image is first formed before a camera captures it.
The human mind has constantly pushed the boundaries of what’s possible with a camera. New technology has simply made it easier to capture one’s vision, but it has not been able to eliminate the six inches behind it.
Found this to be an interesting read? Want to know more about how a photography lens works? Check this out.


