
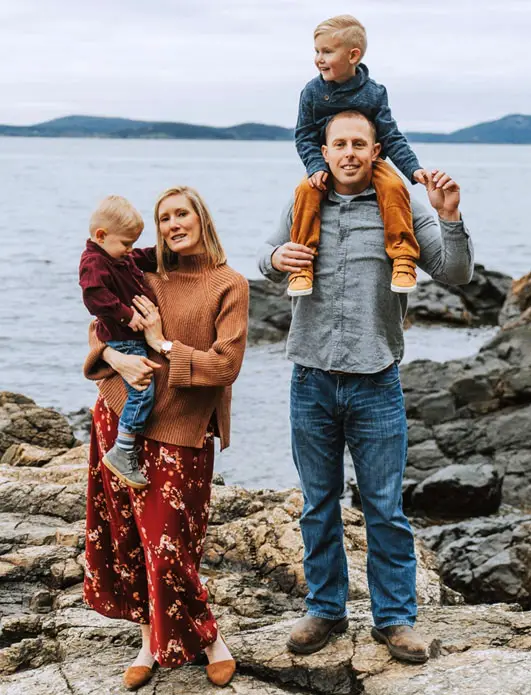
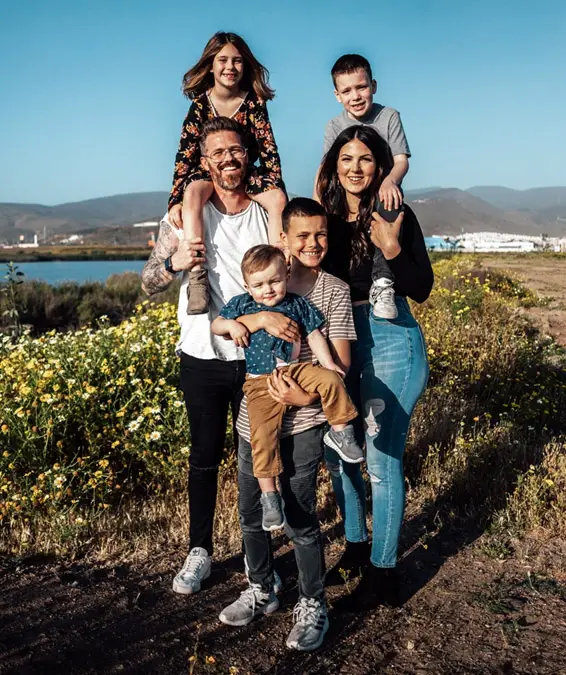
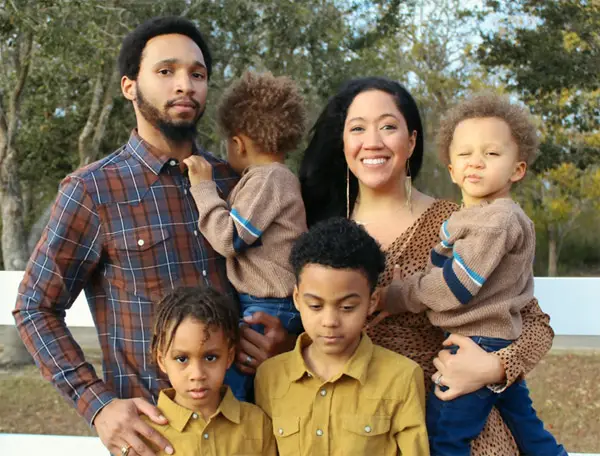
Whether you are shooting outdoor family portraits as paid work for your client as a photographer, or capturing family portraits on your vacation trip, you need to get the lighting correct on the subjects to create the best image.

In this guide, I will share the different lighting types that you can use for your outdoor family shoots. I will also share some tips and tricks that you can use to get the best outdoor family portraits in all lighting conditions.
In general, the best lighting for outdoor family portraits is that which provides a soft glow, does not introduce harsh shadows, is even, and eliminates shadows under the subjects eyes. It can include natural light, artificial light, or a combination and may additionally be achieved with light modifiers such as diffusers and reflectors.
Let’s discuss in detail.
Types of lighting for an outdoor family photoshoot
Outdoor lighting will vary at different times of the day. It will also depend on the weather and the location.
When it comes to lighting a family portrait that is shot outdoors, there can be three types of lighting that can be used in your shoot.
Natural light
You can fully depend on the natural light for your shots only at certain times of the day. Early morning and late evening are two such times where you can fully depend on the Sun for your shoot. During these times of the day, you will get good soft light. This natural soft light will help to get beautiful portrait shots without any harsh shadows.
Golden hour is another time of the day when the natural light helps enhance images, especially portraits. The warm and soft light falling on the people will help to enhance the beauty and feel of the image as well as their features.
Many professional portrait photographers make use of the golden hour for most of their family portraits. The golden hour will be available two times a day, first during the sunrise time and secondly during sunset time. You will only get 1 hour each during the sunrise and sunset for your shoot.
If you are planning the outdoor shoot during the golden hour, then proper planning is essential. You need to reach the location at least one hour before the golden hour. It will help you find the best location for your subjects and fine-tune your camera settings.
Artificial light
You will have to fully depend on artificial light for the shoot in certain conditions, for example, during a late evening photoshoot.
When it comes to artificial light, you will have the following options.
On-Camera Flash
If you are shooting your family pictures on your vacation, then you can even use the on-camera flash in your camera. However, the on-camera flash will not be as powerful as an external flash. So, you should keep the distance between the camera and the subjects as small as possible. Otherwise, the flash will not be able to light up the scene properly.
External Flash
An external flash really helps to light up your family portraits. You can easily carry it in your camera bag. If the subject is in a shade, then you can use the external flash to get a good amount of light on the subject. It also helps to shoot at low ISOs with sufficient shutter speed and to avoid blurry images.
Continuous lighting
Continuous lighting is another option to light family portraits. But, when you are using continuous lights, you will have to carry the light stand and the battery pack also. Nowadays, you can also get small portable continuous lights that can be carried easily in your camera bag. But, the power level of such lights will be lower which is why many professionals do not prefer the small portable versions.
When you are doing a paid family portrait shoot, it is essential to carry good quality continuous lights with you for the best results. You will have to take an assistant to help you set up and position these lights during the shoot.
Combination of natural light and artificial light
Most professional portrait photographers make use of artificial light along with natural light when they do outdoor portrait shoots. The use of artificial light will ensure that the subjects are well lit in the scene. In addition, the artificial light will help to remove all the shadows falling on the subject.
Use of light modifiers
Most of the time, you will be dealing with a harsh light when shooting family portraits outdoors. This harsh light can be from the natural light source, the sun. It can also be from artificial lights like the flash or the continuous lights. If you let such lights fall on your subjects directly, then you will end up creating harsh shadows in the image. It will make the photos look uninteresting.
As a photographer, you need to ensure that the light falling on the subjects is soft and make the subjects appear pleasing to the eye in the picture. You need to make use of light modifiers. The different types of light modifiers that you can use for an outdoor family portrait shoot are given below.
Light diffusers
Light diffusers help to convert the harsh light to soft light. It is basically a piece of translucent material kept in front of the light falling onto the subject. It can be made of cloth or silicone.
You can get soft boxes for external flashes, in-camera flashes, and continuous lights. These boxes will have a layer of diffuser sheet in the front that helps to soften the harsh light.
Light Reflectors
Most photographers will make use of the popular 5 in 1 collapsible reflector kit for their outdoor photoshoot. The main advantage of using one is that you can fold it and easily carry it with your camera gear. It will have 5 types of light modifiers.
There will be gold, silver, and white sheets in this reflector. These sheets will help to bounce the light in the respective colors. If you use a gold sheet to bounce the light onto the subject, you can add more warmth to the image. You will also have a black sheet in the 5 in 1 reflector combo kit. It is used to block the extra light falling on the subject.
A diffuser sheet is also present in this kit that helps soften the light falling on the subject. You can use this feature to soften harsh natural light or artificial light.
If you want the white sheet alone, you can also go for a white foam board or a white polystyrene board. But, it will be difficult to carry these boards to the location.
Honeycomb grid
A honeycomb grid helps to create a narrow beam of light. It helps to avoid the spilling of light. This grid is basically a structure in the shape of a honeycomb that gets attached in front of the artificial light source. You can get honeycomb grids for both flashes as well as continuous lights. You can use it to narrow down the light to your subjects.
Tips to improve the lighting for outdoor family portraits
Below are useful tips that will help you improve the lighting of your outdoor family portraits.
Use Sun as Backlight
Normally, you would love to have Sun be in front of your subject when you do photography. But, sometimes, the Sun can produce harsh undesirable shadows on the subject. These shadows can fully ruin the family portrait. The best way to deal with this situation is to position your subjects in such a way that the Sun comes behind the subject. Here, the subject will be backlit. So, you need to add fill light to the subject with the help of artificial lights.
Shooting in Shade
If you are shooting in mid-day, then the Sun will be directly above the subject. It will cast strong shadows in the scene. In order to avoid this situation, you can try to position your subject in the shade. When you use the shade, you will have to use artificial lights to get good lighting on the subject. If you have trees in the area, you can make the family stand underneath the foliage of the trees. The foliage will help to diffuse the harsh light of the Sun. It will act as a natural light diffuser.
The Two Point Lighting Technique
When you use a single point light source, then the other side will be filled with shadows if you have positioned your light at 45 degrees angle to the subject. On the other hand, if you place the light directly in front of your subject, it will create a flat image without any dimension.
You can use a two-point lighting technique when you shoot family portraits outdoors. It can be two separate artificial light sources positioned on either side of the subject at 45 degrees. Otherwise, you can use one light source and a reflector. When you replace one of the lights with a reflector, you will not get the option to vary the power of the fill light. Instead, the light that falls on the reflector (part of the key light and ambient light) will get reflected on the subject.
Always capture in RAW format
When you are using a DSLR/ Mirrorless camera for outdoor family portraits, you should always go for the RAW format instead of the lossy JPEG format. When you shoot in RAW, even if you have slight exposure issues due to lighting, you can easily fix it in the post-processing stage without losing any details. It is very useful, especially when you depend only on natural light for your photoshoot. The RAW format also helps to fix the white balance of your image if there are any issues.
Eliminate Shadows under the subject’s eye
One of the main issues that a photographer will have to face while shooting outdoors is the nasty shadow under the eyes. It is a common issue when you shoot in the daytime. However, many photographers tend to fix this issue while editing the image.
You can actually fix this issue during the shoot itself. To avoid these shadows, you can place a reflector in front of the family at a 45 degrees angle. Thus, the light will get reflected and fall on the subject’s eyes, thereby eliminating the shadows from the eyes. When it comes to family portraits, eyes are very important. So, getting the exposure right on the eyes is very important.
Keep the ISO as low as possible
As you all know, aperture, shutter speed, and ISO combine to give the image exposure. When you are shooting family portraits, you will be using a slightly higher f-number than the regular single portraits aperture settings to get everyone properly focused. So, less light will be entering the camera. Thus, you will have to bump up the ISO to get a good shutter speed, especially when you are shooting during the early morning and late evening time with Sun as the only light source.
If you are in such a situation, try to use the lowest possible ISO. Increasing the ISO will increase the noise in the image. Later, you will have to sit in front of the computer and waste your precious time removing this noise. So, avoid the grain in the image by going with lower ISO values.
Use Off-Camera Flash
If you are using an external flash for the shoot, it is a good practice not to mount it on the camera hot shoe directly. If you mount it directly, then the light will be falling on the family members from the front, and it will create a flat image. Instead, try to position the flash on the left or right side of the camera, facing the subjects at a 45-degree angle. Make sure to use a good diffuser with the flash to create soft light.
You can watch this video from SLR Lounge for more tips on lighting for a family portrait shoot outdoors.
I hope this article got your creative juices flowing in terms of lighting an outdoor family portrait.
Please consider reading about more photography lighting techniques here.


