When it comes to skin retouching, less is more. Retouching skin is tricky. You want to enhance it, not beat it to death, make it fresh and glow-y, while still keeping the integrity of the skin.
You want to soften wrinkles, not obliterate them. And to bring out their eyes and natural beauty while keeping them looking like themselves.
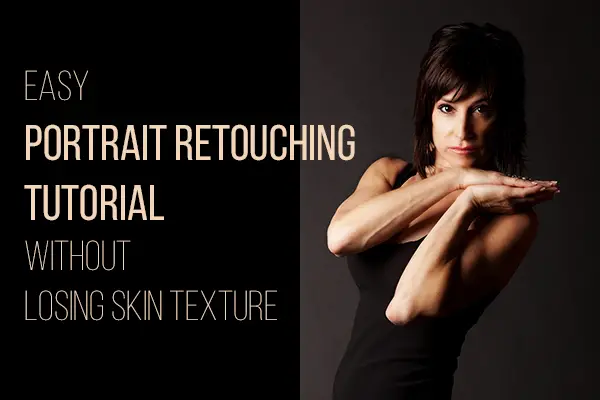
Even if people tell you that they want to look 20 years younger, the majority of them really just want to look like themselves, only fresher. So, here is an easy portrait retouching tutorial.
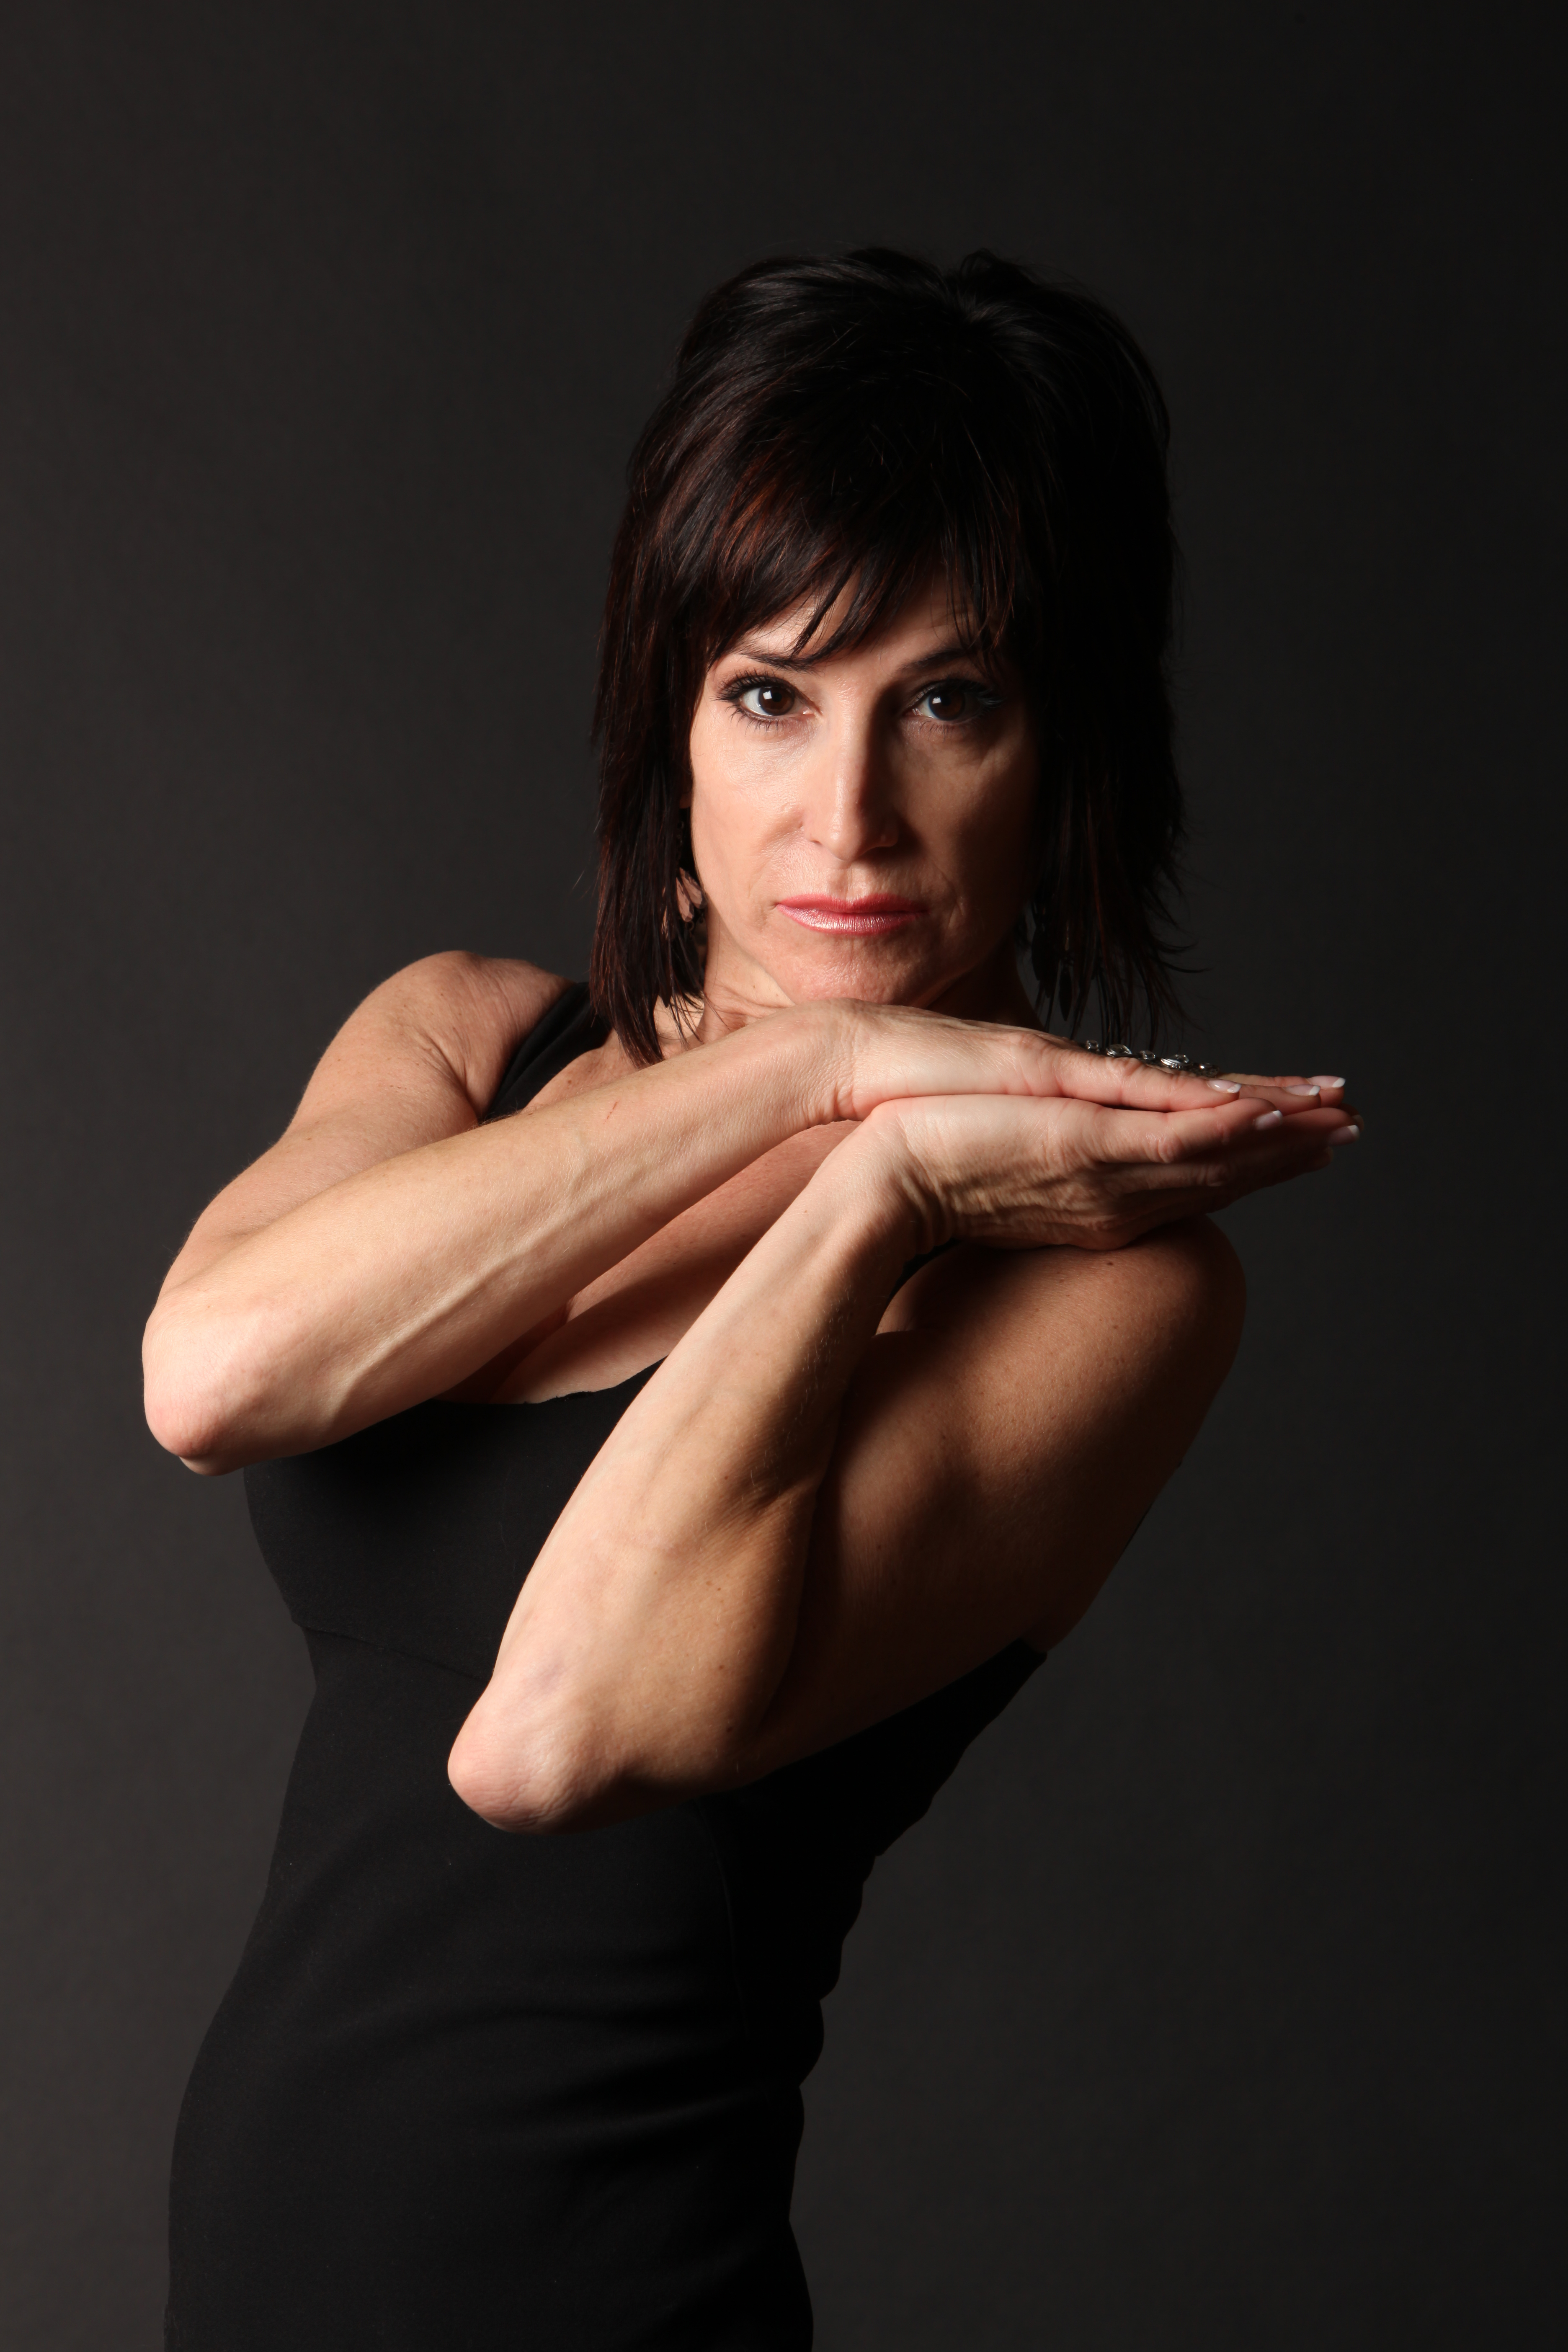
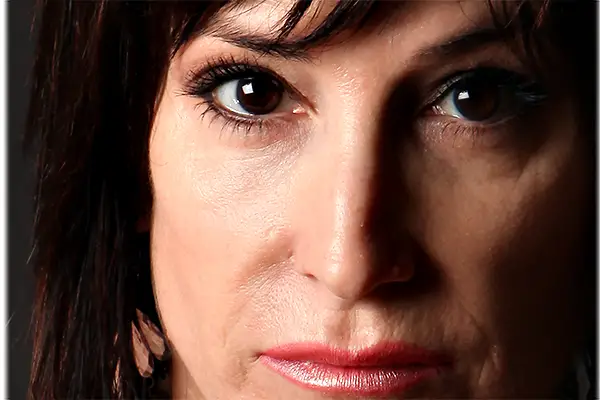
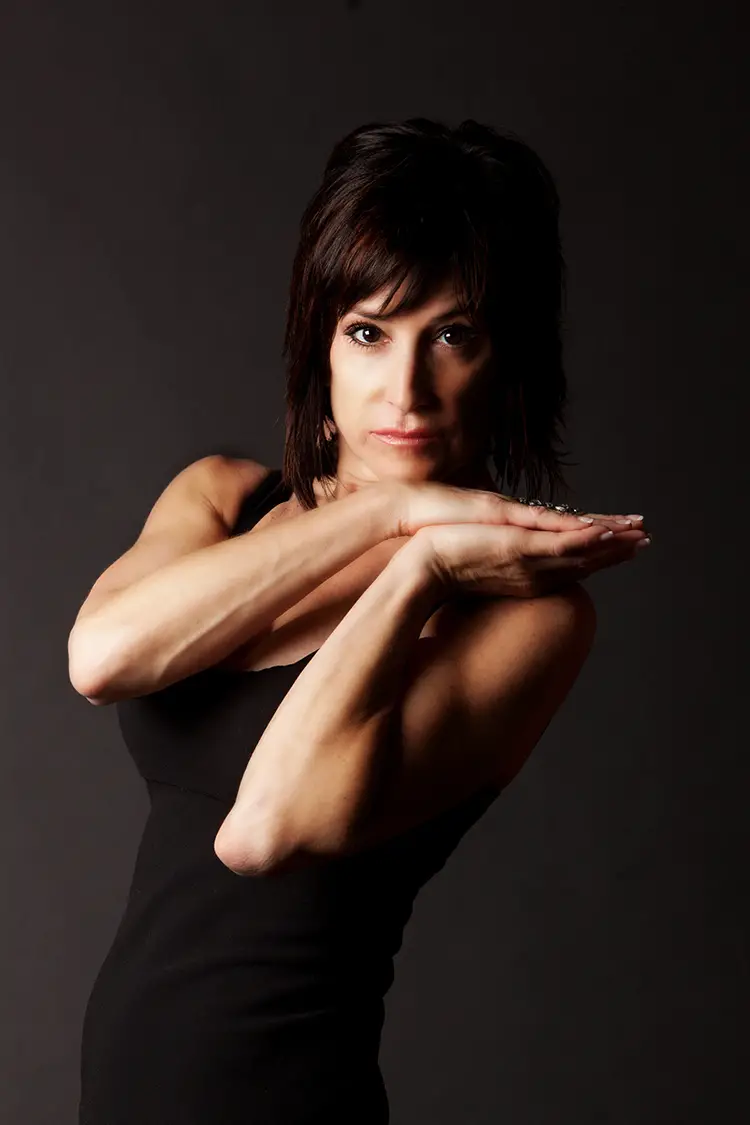
So here is the straight out of the camera shot of Maryanne, who is absolutely gorgeous even when totally unretouched. The first thing you need to do is sharpen and defog your photo.
Every digital photo needs to be sharpened and defogged for printing, no matter how sharp the photo looks on your screen, and by looking at Maryanne’s gorgeous lashes, you can tell that this shot is nothing if not SHARP. Go to filter>sharpen> unsharp mask. Set the amount to 20%, the radius to 60 pixels, and the threshold to 0. Then click ok.

Then go to filter>sharpen>unsharp mask again. Put 500 in the amount. It will make the preview look crazy for a minute, but just ignore it.
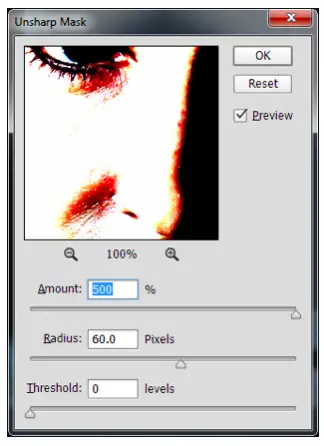
Then put .2 in the radius section, and 5 in your threshold. I’m not going to lie. Every line and pore will be pronounced, but look at how sharp it is…almost too sharp for the computer, but not for print.
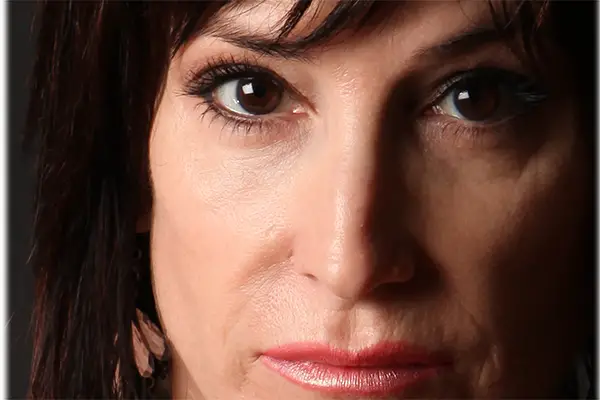
Can you see the difference? Look at her eyelashes. You can see them just fine In the first shot, because the picture started out nice and sharp, but in the bottom shot, they are razor sharp. A subtle difference, but an important one.
Ok, now zoom in on your subject. Zoom in to at least 200%. Get close, and if possible, use a tablet and stylus for more precision. I have tried a lot of tablets and stylus’s and my favorite is Wacom. Any Wacom will do. Take the “band aid tool” and very carefully draw over any wrinkle that you want to get ahold of. Age spots, scratches, stray hairs and zits will just disappear under this tool.
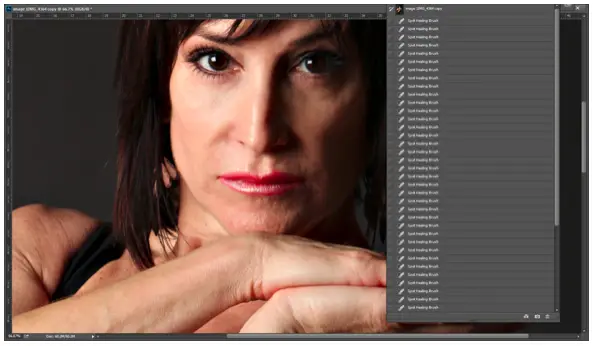
I took out the scratch on her arm, the nasolabial fold on both sides of her face, the little scar the was on her camera left cheek, the little fine lines under her camera left eye that had some mascara pooled in them, and a little hair that was on the camera left side of her camera left eye, then I zoomed out to show it. You’re just prepping the face at this point.
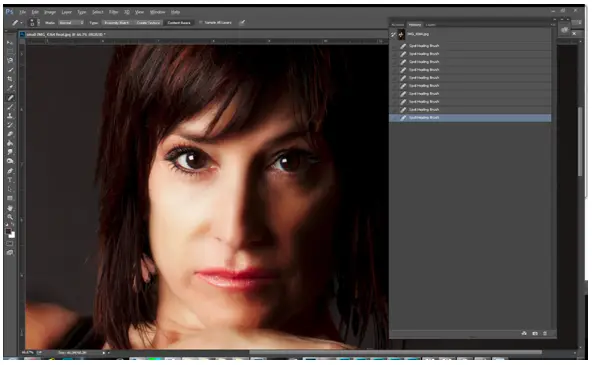
Now the magic happens. You can either use a commercially made action or make one yourself. There are a lot of really great skin actions out there, but the one I always seem to gravitate to is Craig’s Actions. And I adore his Velvet Touch. So you can just run the action and paint in where you want the softness, and it will look like this:
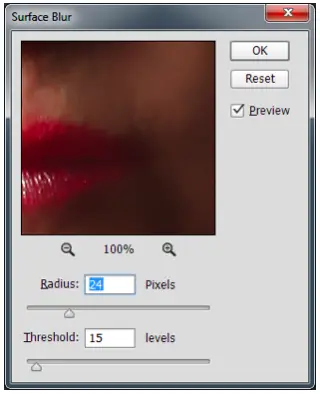
To do it yourself, make a copy of the layer by taking the small icon in your layers palette (get to your layers palette by going to windows>layers) and take the icon in the layers palette and drag the thumbnail to the new layer icon, which is the one by the trash can icon. Then, on the new layer, go to Filter>Blur> Surface Blur and slide the radius up until the skin imperfections start to disappear. It will look like too much, but don’t worry.
The skin will look smooth, but everything else will look less sharp, too, so hide the layer that you just smoothed by going to layer>layer mask>hide all, and the smoothness will go away. Then use a black brush to carefully paint in the skin and smooth it, while letting the eyes, eyelashes, eyebrows, nostrils and lipline stay sharpened at a medium opacity.
So there you have it. Send me your retouching wins and fails to [email protected] and we can talk about them and figure them out. Let’s get better together!


Very helpful and informative tutorial. Learn so many things from here.