
Using camera phones has made photography far more accessible to the average person. Most of us carry our phones with us all the time, allowing us to take photographs almost anywhere and everywhere.
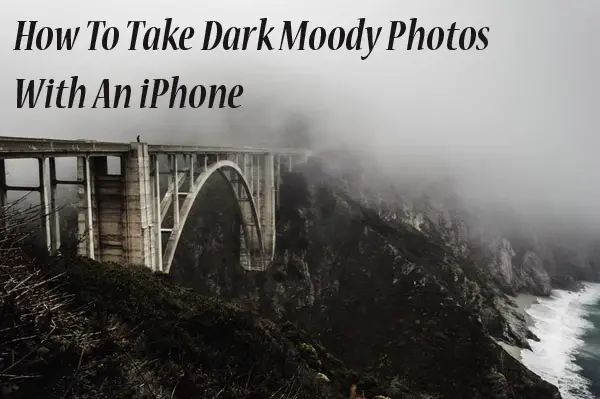
These days you don’t need a top-of-the-range DSLR to take impressive photos. “iPhoneography” has taken root, allowing people to capture great images with their iPhone—potentially for a fraction of the cost of a camera and related paraphernalia. Camera phones such as the iPhone are also now capable of creative photography such as dark, moody photos. In this article I will describe exactly how these can be achieved with your iPhone.
Shooting dark, moody photos with an iPhone involves choosing your light source carefully, adjusting your composition to a phone screen, setting exposure properly, utilizing features such as night mode, HDR, a tripod, and using certain post processing apps.
Let’s get into the details and see how you can take dark, moody pictures using just your iPhone.
Darkness and light
Rookie photographers often think that bright, sunny weather equates to great lighting, which then equates to good photos. On the contrary, bad weather makes for great photos. Darkness and shadow are just as important as highlights no matter where, when, and who you’re shooting.
Taking a closer look at the role of darkness in art and photography is an important first step when you’re trying to capture moody and low-lit images. Understanding the relationship between darkness and light can go a long way towards using both effectively.
The meaning of darkness
The subtraction of light is an underrated tool in photography, no matter what your subject is. Darker images often evoke unpleasant feelings. A bit of a stereotype maybe, but often true.
The darkness of night reminds us that we live alongside the unknown; that we often go about our business with the attitude of “out of sight, out of mind”. Shadows in these images can conjure up fear and uncertainty (for many of us, at least).
That doesn’t mean that moodier and darker photos automatically make us feel bad. Darkness can be used in many ways to express a myriad of different emotions, both negative and positive. Apart from the above example—nighttime darkness and its slightly threatening quality—photos with less light can inspire a range of uncomfortable feelings, such as sadness, fear, loneliness, despair, and resignation.
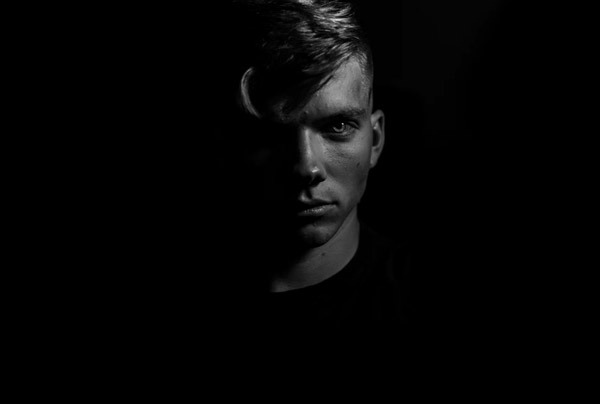
On the other hand, using darker shades and toning down highlights can conjure up feelings of mystery, secrecy, calm, gentleness, and serenity. Portraits taken with low light can appear both threatening and alluring.
Different shades of dark and moody
The way you use your iPhone camera depends on many things: the particular flavor of darkness you’re aiming for, the intensity of the emotion and the genre in general.
Composition
Getting your composition right is a big part of creating the mood you want to portray. Just snapping a photo in a shadowy environment will not result in an atmospheric image. It’s more likely to come out blurred due to low light, and without any effective composition.
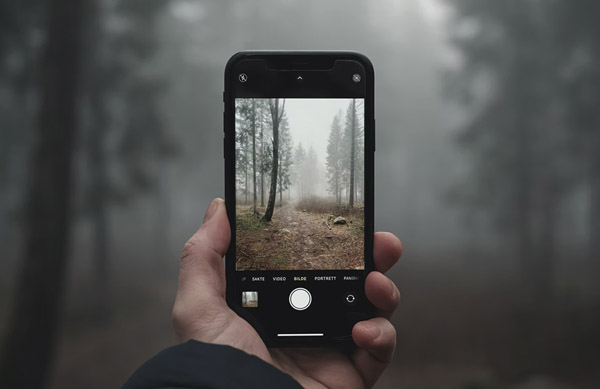
The basics of composition aren’t hard to learn, but if you’re taking photos with an iPhone instead of a camera it can mean a slight adjustment in technique.
Holding a DSLR with two hands and your eye against the viewfinder gets your mind to focus on the scene you’re observing. Holding your phone with one hand while balancing your gaze between the screen (usually an arm’s length away) and the surrounding environment.
To get the best results from a phone camera, you need to treat it like any other camera—with care and with purpose.
Exposure settings – iPhone
Just like a DSLR, an iPhone comes with a range of settings that can be tailored to suit your needs. Brightness, contrast, shadows, saturation and exposure can be adjusted to enhance different aspects of your photograph, much like the post-processing functions in Adobe Photoshop.
When you’re pointing your iPhone at a subject, you are able to adjust the brightness of the image and exposure by tapping the photo to select the focal point. A yellow box should appear around that area. To adjust the exposure, you need to swipe up or down on the screen. Up to increase exposure and down to decrease it.
When you’re aiming for a darker image, swiping down on the screen will decrease the amount of light and make both the shadows and lights/highlights darker. This affects the image as a whole, however, so it’s important to be aware of all areas and not solely the focal point.
Preempt post-processing
While your iPhone settings can adjust exposure, they can’t fix a frame (if you’re doing this before you press the shutter) that is extremely overexposed (too bright). Trying to do this can drag your whites and highlights down into a gray, nondescript shade, which results in having to play with contrast in post-processing if you still want to make it work.
If you’re looking at a shot you’ve already taken and want to turn down the exposure, the same general rule applies. It can be done, but the quality will probably suffer to some extent.
The solution to this problem? Work with your environment.
Whatever camera or camera phone you’re using, the lighting condition you’re shooting in is one of the most important aspects. Composition, lighting, and subject are the three building blocks of every photograph, and working against the natural lighting conditions can make the entire process an ordeal. If you’re shooting in a studio, of course, you have much more control over how bright or dark your scene will be.
While you’re getting the hang of the tools you need for darker photos, you should also give some thought to your desired outcome. As we’ve mentioned, photographs with less light express many different emotions. When it comes to moody images, using darkness is very effective when you want to draw the viewer’s eye to a smaller focal point, such as a person’s eyes, or a particular part of a still life image.
Whatever type of image you’re aiming for, there are a few basic steps that can make the process run smoothly and increase the likelihood of getting shots you’re happy with. These steps work together to lay the groundwork for a productive session.
An example: the foundation of a shoot
Let’s say you’re taking a portrait with your iPhone. You want the mood to be mysterious—enigmatic but not negative or threatening. You’re shooting indoors; in your house, or an apartment. A friend has volunteered to be your subject.
Prepare
You know your goal with this shoot—to create a mysterious and moody portrait—but you also need some kind of framework or structure to support your creative process. As with any shoot, it’s helpful to have some boundaries, such as the time you’ll spend on it or how many usable photographs you need. Your model or subject should have some idea of what you expect from them. If you are only using your iPhone to shoot, make sure your battery is charged.
Consider your setting
You do need a light source even when you’re shooting darker photos, so take a thorough look at those before you position your subject. When you’re shooting indoors this is slightly easier to achieve, as light sources are limited to windows. Unless you keep ceiling lights or lamps on. Using an indoor light source, such as a tungsten lamp, can result in very effective moody photos but with a different tone and warmth.
Start shooting
The actual process of shooting is just about the same as it would be if you were using a DSLR. Once the scene is set, start snapping. As with any photoshoot, pause to check the images you’ve already captured so you’ll know what needs adjusting in terms of settings, composition and angles.
All genres
The above example only covers one very small offshoot of using an iPhone to create darker images. All genres of photography or in this case, iPhoneography, not just portraits, can be explored through this “darkened lens”.
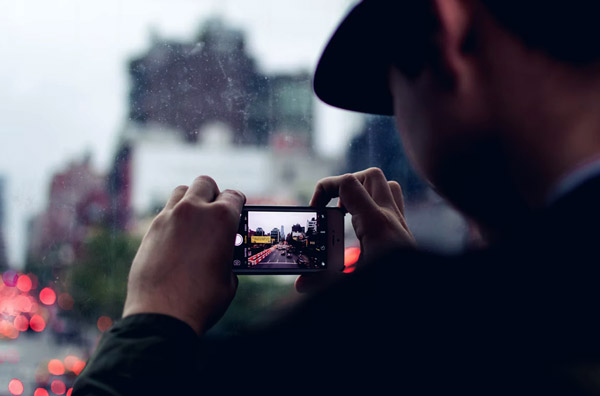
Landscapes, still life, street photography, animal photography, fashion photography and more- each one provides a unique opportunity to practice and perfect your style. Adding and subtracting light can sometimes feel more technical than artistic, and this is accurate to a certain extent. Traditional photography—back to analog cameras—involved many technical details, and photographers had to change settings manually. Widening or closing the aperture, adjusting shutter speed, and manually focusing was required to get the perfect shot.
iPhoneography still involves these settings, but technology has cut down on the manual labor. An iPhone photo can be snapped in a fraction of a second, without the photographer needing to adjust and readjust before they can press the shutter, potentially causing them to lose the shot.
iPhone versus DSLR
Using your iPhone to take moody and atmospheric photos requires many of the same skills you need when using a DSLR. Although there are many similarities between shooting with a DSLR and an iPhone, there are a few things to bear in mind when using the latter, such as the fact that the iPhone can’t take RAW photos.
RAW versus JPG
The RAW photos you can get from every DSLR contain a huge amount of detail, which is why they are much larger files than the usual JPG. Editing a RAW file is better than editing a JPG, as the JPG decreases in quality the more adjustments you make. RAW images are large enough that post-processing hardly damages them at all.
When shooting with your iPhone you’ll end up with JPGs, which means that it’s best to keep the post-processing as minimal as possible. To achieve that you need to shoot as accurately as possible in terms of the lighting—brightness, contrast, highlights etc. Adjusting the exposure while you’re looking at the frame, before clicking the shutter, can help to cut down on processing later on.
How to achieve a moody atmosphere
If you’re using your iPhone to shoot dark and intense pictures, you do need a general understanding of the settings. This video can help you to get to grips with the basics:
We’ve already touched on how to adjust exposure on your phone, but there are also a few other features that can help to create the desired image.
Night mode
Using Night mode on your iPhone can help you capture very atmospheric scenes in low light. Unlike a traditional camera, your phone automatically calibrates itself to suit the available light and amount of darkness.
Using HDR
High dynamic range (HDR) was conceived around 20 years ago but has only recently become more understood by amateur photographers. One of the perks of an iPhone is that it has an HDR mode, which allows you to capture three or more images when pressing the shutter once.
The phone then combines those images to produce a shot with perfectly balanced lights and darks. This can be very helpful when shooting darker photos, as HDR mode can capture smaller details by combining the three original shots.
Flash
Using flash correctly and effectively is very hard to achieve. When going for darker and more intense shots it’s advisable to avoid flash, as it often results in unnaturally bright highlights. That doesn’t mean that you won’t be able to get the atmospheric images you want, but using flash will require some skill, or trial and error.
Tripod
We’re used to seeing wildlife photographers poised behind their massive cameras and hardy tripods. It might seem a bit overboard at first, but there’s no reason why you can’t use a tripod when using your iPhone. Shooting darker images means slower shutter speed, no matter what equipment you’re using, so keeping your phone steady when shooting in low light ensures sharper and more focused results.
Post-processing
There are many options when it comes to processing your photographs. On your iPhone, you can edit your pictures with an app such as Snapseed, VSCO, or Carbon, which offer a range of tools to adjust elements such as contrast and warmth.
Trial and error – experiment
When it comes to shooting more atmospheric photos, there isn’t a one-size-fits-all approach. While the above suggestions can be helpful, experimentation is ultimately the only way to get the results you want. In time, you may be able to charge for your photos, especially if you master the art of taking moody, artistic shots.
Get that dark shot you want
Anyone with an iPhone can create the perfect dark and moody photos that look like they’ve been taken with a state-of-the-art DSLR. The trick is to get the basics right and know how to use the phone’s camera like a pro.
If you want to improve your iPhone photos you can also take a look at this article to learn more about your phone’s capabilities.


