It is a simple, unavoidable fact that light is necessary for photography.
Life, however, doesn’t restrict itself to times when the sun is bright and plentiful. Unless you only shoot in a controlled environment, chances are you’re going to want to takes photos when the lighting is less than ideal.
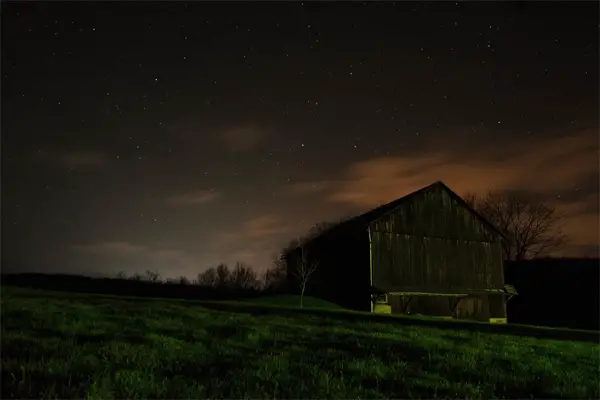
You are not powerless, though. It is possible to make the most of what little light you have available, whether you’re shooting outdoors in the evening or shooting an indoor event with little, often garishly colored, light. With practice,you can learn how to squeeze the most out of a dim situation.
Camera Settings
The first consideration to make is your camera’s settings. Increasing the camera’s ISO will make your photos brighter, but this also adds image noise. Image noise manifests as graininess in your images, making them less sharp and clear.
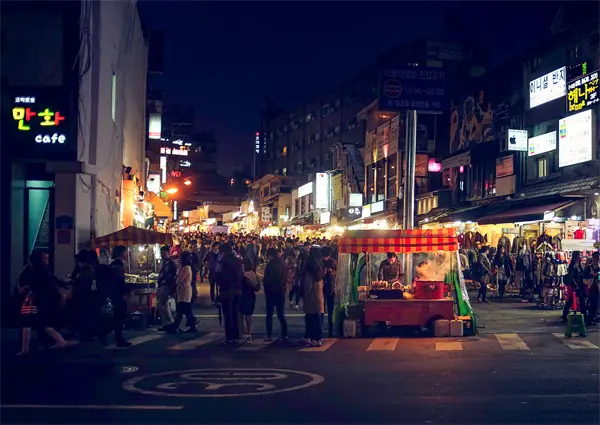
However, as digital cameras become more advanced, image noise becomes less pronounced. With most modern cameras, you can crank the ISO up to 800 or higher and still produce high-quality images. This especially comes in handy for event photography where your options are limited.
You can also brighten your photos by adjusting your shutter speed and aperture. Of course, opening your aperture to its widest setting will let in the maximum amount of light. Be aware, though, that adjusting your aperture will also affect your depth of field. This means anything in front of or behind your photo’s subject will be out of focus. You can find out more about this in our comprehensive guide on depth of field.
Lowering your shutter speed will also help more light find its way into your camera. The most commonly suggested shutter speed for hand held photography is either 1/125 of a second or 1/60 of a second. Setting the speed any slower than that can often result in a shaky, blurred image. This can be especially frustrating if your subject is moving around. But with some practice, and a little luck, you can snap sharp images at slower shutter speeds.
When you’re shooting, be sure to hold your camera with both hands: one under the camera for support and the other on the side to keep the camera still and to push the shutter release. Keep your elbows in tight next to your torso. Breathe slowly, pausing briefly after you inhale. Snap your photo at this pause, and hopefully it’ll be free from camera shake. Practice this technique whenever you shoot, whether you’re in a low light situation or not, and your hands will become more stable and steady as time goes by, which is a good trait for a photographer to have.
Learning how shutter speed affects your photos opens up other interesting possibilities. While motion blur can often ruin a picture, sometimes it can produce some great results. With a little practice and experimentation, you can turn certain moments into otherworldly images.
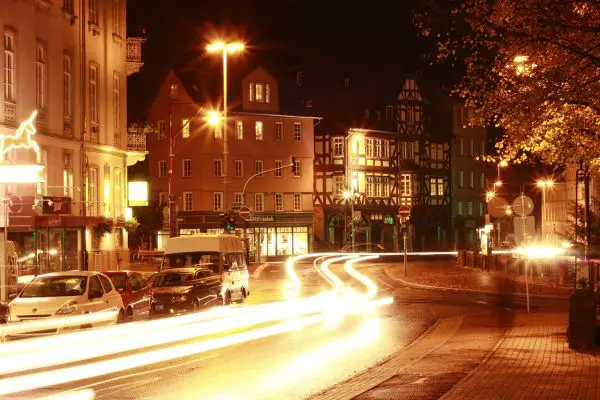
If you’re shooting an event at night that includes lots of bright, colorful lights, you can create tracers. Tracers occur when a light moves across the space of the image faster than the camera’s shutter opens and closes. When done properly, you’ll get something like this.
Extra Gear
Even the most experienced photographers often need some extra help when photographing at night. You can use some extra pieces of equipment when shooting at night to gain an advantage. But knowing what to use in what situation can be tricky.
The first piece of gear to consider that might help is a tripod. Tripods offer the most support and stability of any of the options listed here. Every photographer should have a good, sturdy tripod in his or her collection.
When selecting a tripod, consider a few things. First, is it sturdy and well-made? You can find cheap tripods all over the place, especially when shopping online. And while one of those might be easy on your budget, a flimsy tripod can cause trouble a number of ways. It might not offer much stability, shaking and slipping whenever you touch it. A particularly bad tripod could also potentially topple over, not only ruining your shot, but smashing your camera on the ground, as well.
Also pay attention to the weight of the tripod you choose. While heavier tripods are typically more stable, remember that you have to transport it to and from your shoot, as well as move it around. If your tripod is too heavy, your back might be sore by the end of the day.
While tripods offer unparalleled stability, sometimes they’re too bulky and cumbersome to be practical. If you need extra stability but don’t like the idea of toting a tripod around, you might consider a monopod. As you may have already guessed, a monopod is like a tripod, but with only one leg. You see them most often being used by sports photographers.
If the thought of lugging around bulky extra gear isn’t your thing, you can use a simple trick to gain some extra stability. All you need is a small bolt, a length of heavy string or twine, and a metal washer. The bolt should match the screw hole on the bottom of your camera. Most cameras accept a 1/4” bolt. Make sure the bolt is just long enough that a small portion of it sticks out of the hole once you’ve screwed it all the way in. If you’re not sure, just take your camera with you to the hardware store to try out different bolts.
Cut a piece of twine that is about as long as you are tall. Tie one end of the twine to the bolt, and the other end to a metal washer. Screw the bolt into your camera and let the twine hang down. When you’re ready to shoot, just hold the washer down with your foot and lift your camera to your face. The twine should be taught. This will give you some help keeping your camera steady. Here’s a video explaining how this works and looks.
Taking great photographs in low-light situations is a challenge, even for veteran photographers. But producing great results is well within reach.
Do you have any other tips or tricks you use to take low-light photos? Share your favorite techniques in the comments below.


Wonderful tips for shooting low light ! Thanks for your more informative article.