Welcome back to the Retouching with Cloning Tools series! In Part 1, you learned about how cloning tools are used to retouch and remove imperfections from images.
In this part of the series, you will learn more about the specific differences between each cloning tool, what kind of jobs they work best for, and how to use them. By the end of this article, you’ll be able to pick the right tool for the task!
Let’s get started!
1. Spot Healing Brush Tool
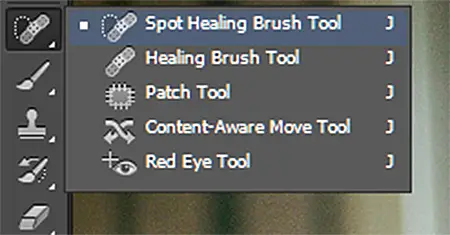
Cheat Sheet:
Adobe.com Definition: “…quickly removes blemishes and other imperfections… automatically samples from around the retouched area.”
Useful for: Getting rid of spots, dust, scratches, blemishes, and tiny imperfections.
Pros: You don’t have to do any sampling–the tool samples from nearby areas automatically. It is also very simple to use, and it works instantly.
Cons: Merges and blurs details together, so you can’t use it on heterogeneous surfaces.
How to use it: Click or draw over the area you want to fix. No, really, that’s it! Just be sure to make the changes on a new layer, and select “sample all layers” at the top.



2. Healing Brush Tool
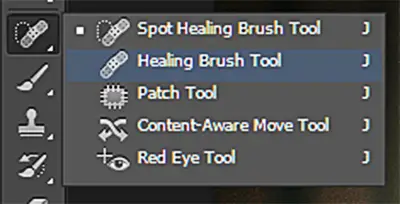
Cheat Sheet:
Adobe.com Definition: “…lets you correct imperfections, causing them to disappear into the surrounding image… [the Healing Brush Tool] matches the texture, lighting, transparency, and shading of the sampled pixels to the pixels being healed.”
Useful for: Removing more complicated imperfections that require sampling.
Pros: This tool copies from the sample area and attempts to blend the details with the background.
Cons: Because it always tries to blend the details into the environment, if you draw on highly contrasted areas, it will create an average area that does not really match the sampling or the environment.
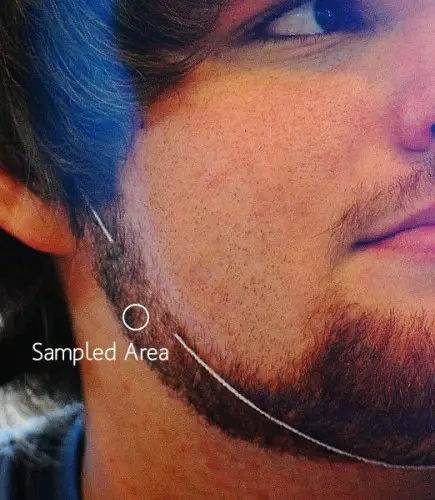
How to use it: Alt-click to sample part of the image, and then draw over a different part of the image using the sample as a reference.

3. Clone Stamp Tool
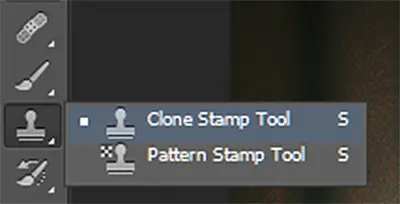
Cheat Sheet:
Adobe.com Definition: “…paints one part of an image over another part of any open document.”
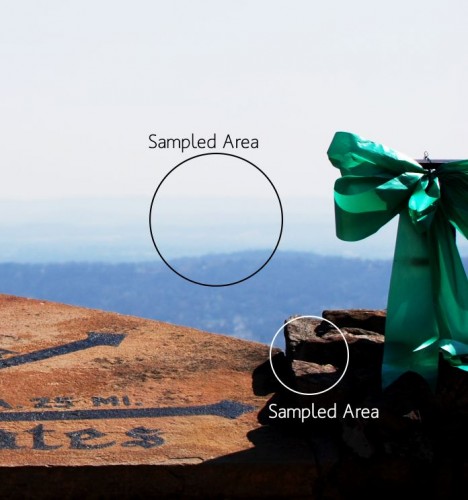
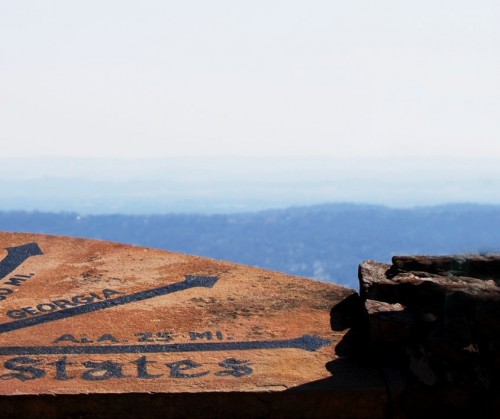
Useful for: Copying patterns or homogeneous areas that you do not want to blend, like pavement, grass, or water. Also works well to duplicate objects or remove unwanted objects.
Pros: This tool does not try to blend in the details, so you can copy something over exactly. You can also adjust the Brush Tip Shape, Hardness, and Blending Mode, just as you can with the Brush Tool. In other words, you can manually adjust how the brush will blend in with the other layers.
Cons: This tool will often require that you clean up the stamped area using the other Cloning Tools. Because it makes an exact copy of the sampled area, sometimes you can tell that something is wrong with the image because parts of the image repeat itself.
How to use it: Alt-click anywhere to sample part of the image, and then draw or stamp over the part of the image that you want to retouch.
4. Patch Tool
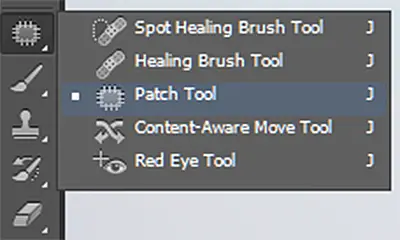
Cheat Sheet:
Adobe.com Definition: “…lets you repair a selected area with pixels from another area or pattern. …the Patch Tool matches the texture, lighting, and shading of the sampled pixels to the source pixels. ”
Useful for: Retouching somewhat homogeneous surfaces. It’s also useful for copying natural edges, like the edge of a mountain range or ocean waves.
Pros: When you click-and-drag to define the sample area, the selection will show a preview of what the retouch will look like. This will help you pick the right sample area and align the edges properly.
Cons: Since the Patch Tool blends in the details with the environment, the preview image is not always accurate. Often, there is less detail in the final result than what was shown in the preview image.
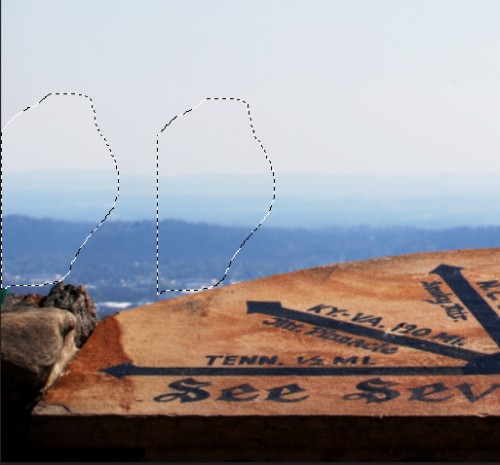
How to use it: Activate the tool, and draw a selection around the area that you want to patch. Drag the selection to the area that you want to sample.



0 comments