If you’ve ever felt the temptation to “improve” some of your photos with some special tricks, then you’re not alone. Many people with a passing interest in photography employ all manner of “extras” to give their photo some added visual interest.
Most of these tricks, however, are ham-fisted affectations that can not only ruin your photos, but mark you as an amateur who’s not to be taken seriously, neither as an artist or a professional.
That may sound harsh, but it’s true. I’m not trying to say that many of the methods I discuss here can never be employed. Rules are always meant to be broken, and I’m not that big into rules in the first place. However, there is a time and a place for everything, and the times and places for these tricks are few and far-between.
Fake Bokeh
This trick has been gaining popularity lately. It’s even become a featured ability built into newer smart phones. Bokeh, when executed properly, can make an image outstanding. Also known as selective focus, bokeh is one of the most effective tools you can use to draw attention to your subject.
Bokeh refers to blurring the background, the foreground, and sometimes the sides, of a photo. The most common use of this is to have your subject in focus while the background is out of focus. And it’s not a difficult effect to achieve. Just open your aperture up. The larger the aperture, the more out-of-focus the background will be.
A trend is emerging, though, wherein photographers are making big, generalized blurs to highlight their subjects without regard to depth of field. The end result is a photo that is somewhat unsettling.
Take this plain, boring photo of a kettle. You can see the depth of field by noticing that the kettle lid is in sharp focus, as is everything else on the same plane as the lid.
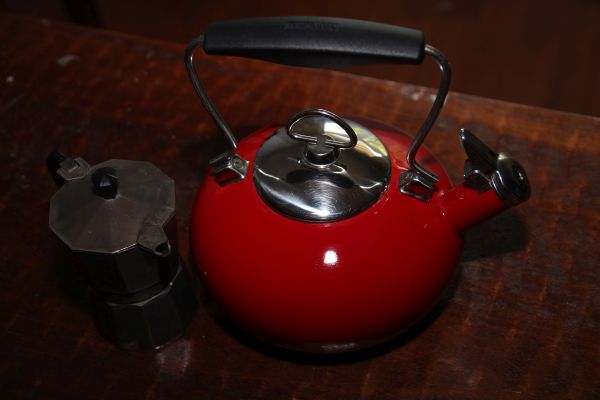
But maybe we can add a little fake blurring, courtesy of some guided photo effects in a popular photo editing tool. I’ve added a bit of dreaminess to the photo. Unfortunately, it’s completely contrived and completely obvious.

As with almost everything on this list, there is a proper way to accomplish this effect. But it’s best done when you’re capturing your images, as opposed to leaning heavily on cheap effects later.
Fake HDR and Over-Sharpening
It is not uncommon, nor unreasonable, for photographers to want their images to be sharp and crisp. Many photographers aspire to producing magazine-quality images, which, as anyone who does that can tell you, isn’t easy.
Sometimes, however, people try methods for elevating their photos to a professional level that just don’t work. This is where fake HDR, or High Dynamic Range, comes into play.
High Dynamic Range photography is one of those tricks that, when done properly, is kinda cool. Kinda. It has its place, to be sure. There do exist certain situations that call for an HDR photo. But more often than not, sadly, HDR is used needlessly and executed poorly.
Producing a genuine High Dynamic Range image generally involves taking a number of photos of your subject at varying degrees of exposure, then merging those images during the editing process. More and more, however, people are using some Photoshop trickery as a shortcut. As a result, we’re seeing an increasing number of obviously faked HDR vacation photos and lunches. Let’s take a look at an HDR’d shot of our kettle.

I have nothing against Photoshop trickery or shortcuts, but only when they produce great results. If you want to produce a stunning HDR photo of your new car, that’s great. If you put in the work, you’ll likely end up with some great results. If, however, you think slapping a high pass filter on an otherwise boring photo will distract people from how boring it is, you’re probably mistaken.
Watermarking
Watermarking is something that photographers go back and forth on all the time. And adding a watermark, signature or logo to your image seems to make sense. If you, as a photographer, want people to see your photos, you probably also want people to know you’re the person who took it. That is understandable. But let us consider the effects of adding something to the photo that doesn’t belong there.
First off, what do people hope to gain from adding a watermark to their photos? There is the ever-present concern over people stealing work from you by claiming it as theirs. This concern is valid, to be sure. The internet has made stealing images incredibly easy.
Printing your name over your image, however, is not a deterrent to photo thieves. Unless you make your signature gigantic or put it in the center of the photo, thieves can (and will) crop it out. So they end up with your image, signature-free.
Or perhaps people put their signatures on their photos in order to advertise. This isn’t completely bad, but be tasteful. Otherwise great shots from a wedding you photographed can be ruined by a large, gaudy signature taking up a big chunk of the photo.
And the photos you shot during your family reunion or at your town’s Fourth of July (or equivalent) celebration probably don’t need a watermark. That’s somehow pretentious and tacky at the same time.
Over-Softening
Now that absolutely everyone knows how much editing goes on with celebrity photos, retouching everyday images has become rather popular. Now everyone wants to use the blur tool to remove blemishes or any other traits he or she finds unsightly. And this isn’t just popping up in more and more Facebook profile pictures; the trend is growing with professional photographers, as well.
Again, the blur tool, as well as many other measures available for cleaning up photos, is a powerful means for improving your work. But like all other powerful tools, it can be abused. And the results are not good. What’s becoming more and more prevalent are photos of people with no facial features at all. Every line gets erased, leaving behind an oval shape with eyes, nostrils and a mouth.
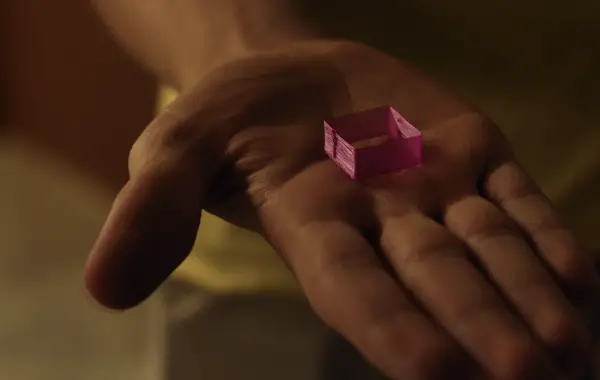
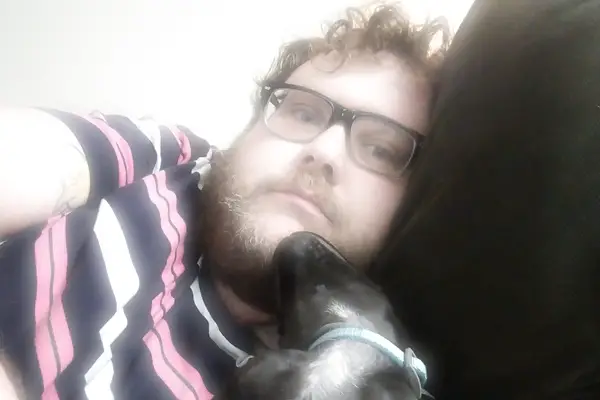
For example, here’s a photo I snapped of myself and our new puppy. It was something I snapped quickly to show off how to my friends how much fun I was having with the new family member.

Cute enough, right? But wait, maybe I can really impress my friends by adding a soft glow to it. Well, I’m not sure who’s going to be impressed by this photo.
As in all things artistic, there are no genuine rules. So if you employ any or all of the tricks I mentioned here, and you’re pleased with your work, then feel free to ignore me. That’s your right as an artist. The real goal here isn’t to tell you what to do or what not to do, but to encourage you to think about every decision you make during your personal creative process.


All of these, and selective colour.
Awesome post.Glad to see this.