Photobooks are gradually replacing traditional albums as the photo-viewer’s medium of choice.
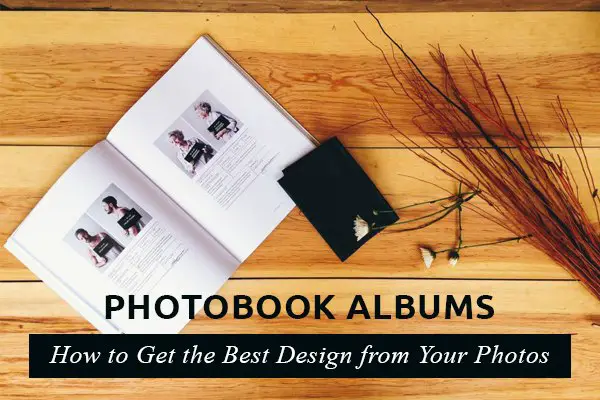
These digitally printed albums offer a host of advantages, one of which is a greater flexibility of design and layout. But when you’re faced with lots of blank pages to fill, where do you start?
In principal it’s easy to click and drag digital photos onto a virtual page, and there’s a range of software (both online and offline) to help you do so.
There are even photobook companies like Photo Productions who’ll design the album for you. But whether you’re a professional designer, an amateur photo buff, or even if you’re just getting one album made for your wedding, a little preparation goes a long way. So here’s how to get started on producing the best possible albums.
Select The Best Photos
You may have a hundred photos, you may have a thousand to go through, but you’ll obviously need to choose the ones you want in your album.
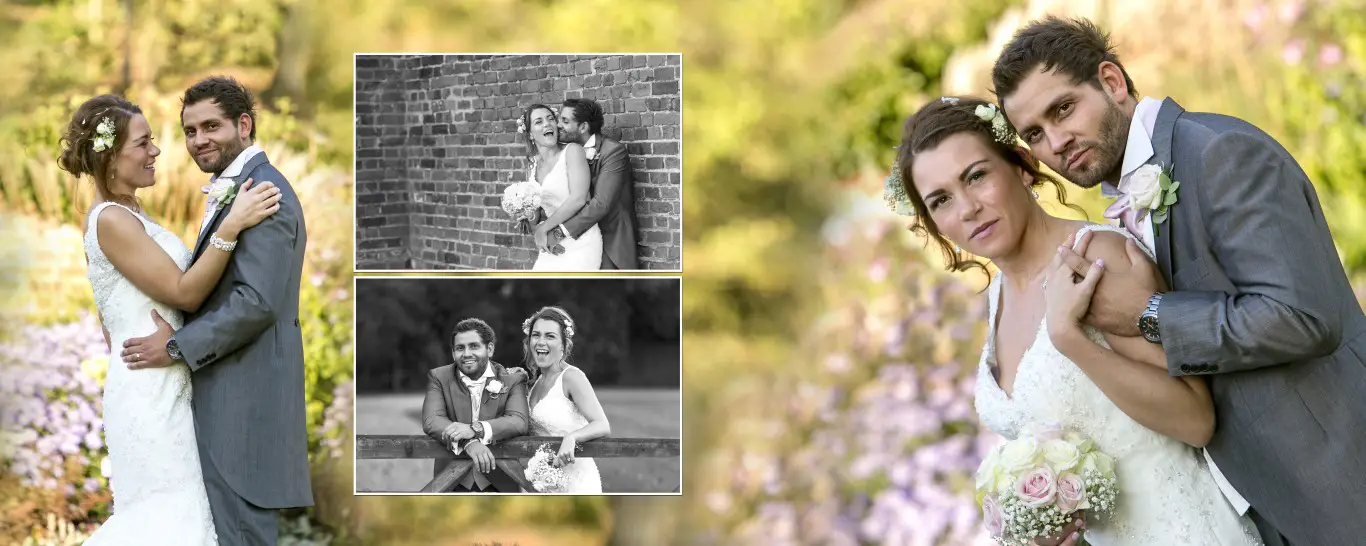
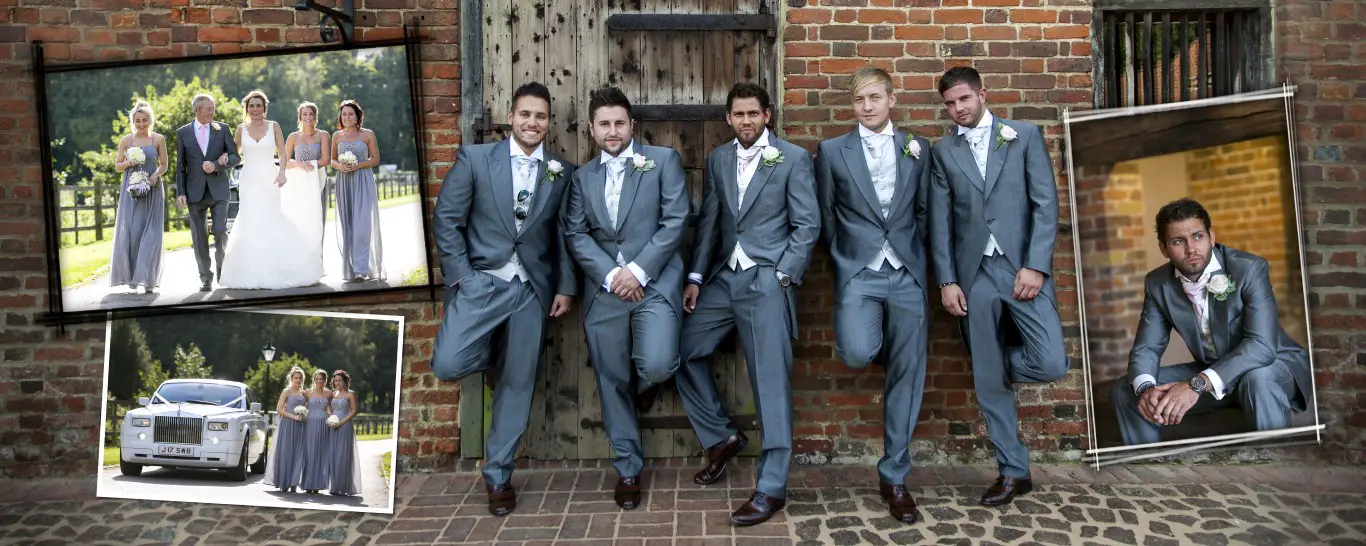
Go through them carefully, and again if necessary until you’re close to the number you need. It pays to be ruthless right now. Don’t forget to choose some details shots, and think about colours and contrasts too.
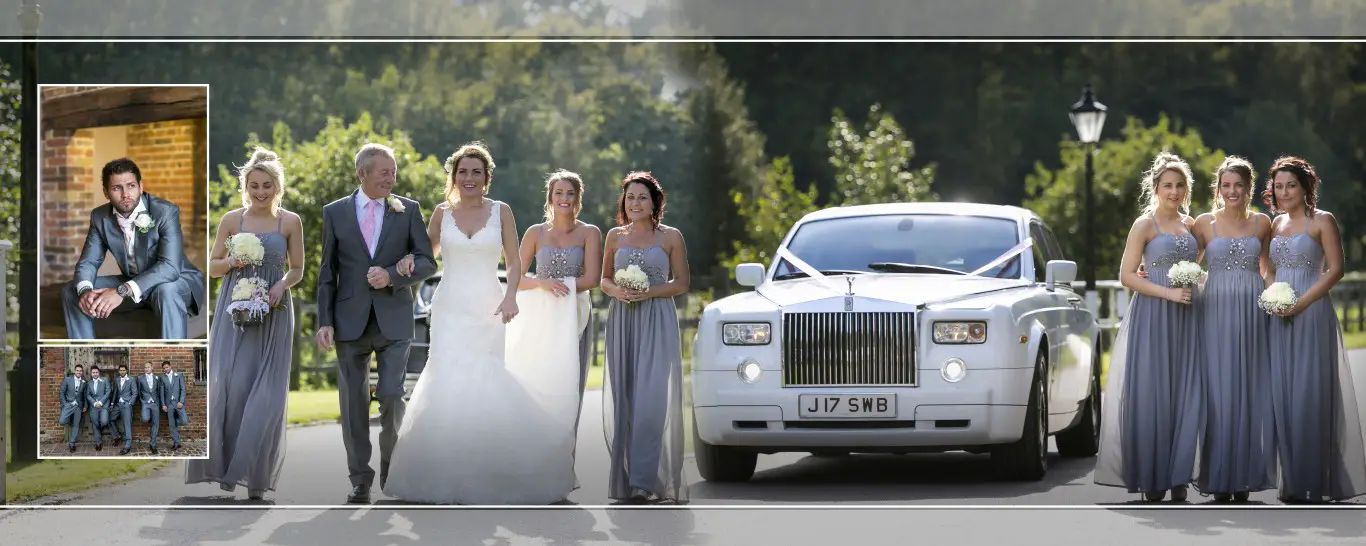
Eliminate very similar photos, and whittle them all down so you’re left with the absolute best photos in your collection – ideally you’ve now got the pick of the crop that show a visual, thematic story, rather than just totally unrelated snapshots. Now create a new folder and copy and paste your final selection into the new folder – call that folder something like “final selection”.
Group The Photos
It doesn’t matter if you’re creating your own album design ‘freehand’ (e.g. in Photoshop), you’re paying a professional designer, or even using templated photobook software – it’s a good idea to start grouping your photos.
Try making sub folders and giving them titles – for example, wedding photos might be “Getting ready”, “Journey to venue”, “Ceremony” and so on. Click and drag every photo into the relevant folder, and then organise the folders into time/date order. (Note – every time you drag a photo into the new sub-folder make sure a copy isn’t left in the original folder. ) This grouping method gives a number of benefits:
- You’ve now got a really effective way of translating the images to the album: each page (or few pages) of the album will correspond to each folder.
- It ensures that the visual narrative we mentioned above flows through the album, as you’re less likely to end up with random photos totally out of place.
- It eliminates the chance of uploading the same photo twice.
Identify Your Favourites
Decide which are the most important images, such as group shots and your favourites, and append the file names with “large”.
Whoever is doing the design, this will remind you or them as to which photos should get the most prominence. It’s also lays a foundation for the album design, as these photos can be put into place first with the smaller (less important) images around them.
Check The Quality
Now that you’ve selected your key photos, grouped them correctly, got them into order and marked your favourites, it’s time to concentrate on the contents of the photos. Go through each image in turn and enlarge it on your monitor to the approximate size of your planned album.
Make sure that they aren’t blurry and that they don’t start to pixelate; although megapixels and resolution are technically important, this is the simplest, and fastest way to check the quality of your photos.
(One caveat though – most monitors are optimised out of the box for internet and general work, not photo editing. So unless your monitor is professionally calibrated it will most likely display your photos as brighter than they actually are. It’s therefore useful to reduce the monitor’s brightness to get a truer idea of what the printed album will look like.)
If you are technically minded then you may also want to start re-touching the photos to get rid of lens dust, blemishes, and so on. It’s also a good time to adjust the colour balance and brightness, if need be.
Decide On A Design Style
It’s time to decide how you want your photos displayed in your album. You don’t want to chuck them in any old how, and if you’re using a designer it’s probably not the best idea to give them carte-blanche to design it how they like.
So decide on some guidelines. Do you want photos blended together or laid out separately? How about some wording? Would you like some snazzy special effects? (Don’t go overboard on the effects though as they can date quickly, and in any case your photos should really do the talking.)
Of course if you’re using templated software then the choice becomes easier – but we recommend keeping to the simpler designs.
Technical Design Guidelines
If designing your own album in Photoshop or other ‘freehand’ software then here’s a few golden rules:
- Ensure that people’s faces don’t go across the middle crease of the album.
- Ensure you’ve got the correct trim and bleed for your printers – this helps to avoid important parts of photos being cut off.
- Check you’ve got the correct DPI (normally 300), the correct colour profile (sRGB IEC61966 – 2.1 is a common one), and that you save your files in the format required by the album company.
- Make sure you’ve got the correct page sizes and orientations.
The above is not an exhaustive list of ways to prepare you photos – or even the only method – but it should give you an excellent way to start getting the best out of your modern photobooks.


Design from your photos are awesome. I like it so much. I learn something different from it.