Do you want to avoid an overworked edit in order to obtain golden portraits with sunrays and lens flares? Shooting against the sun is challenging, however three factors and a bit of practice can easily transform your backlit photography.
One of the leading rules in elementary photography is to avoid shooting against the sun. Usually you will end up with either completely over exposed photographs, or a dark and indefinite shadow.
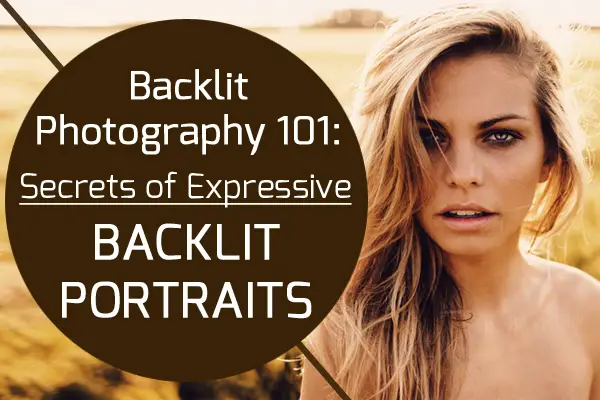
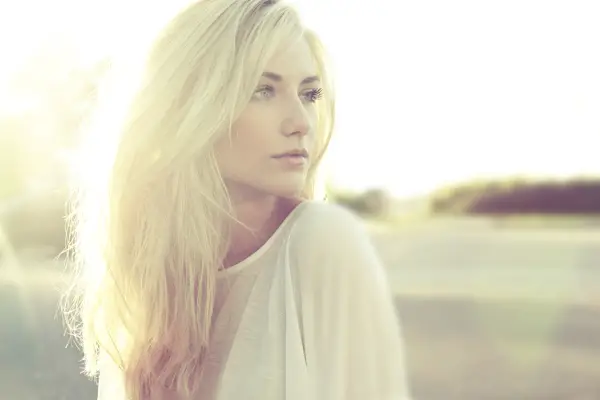
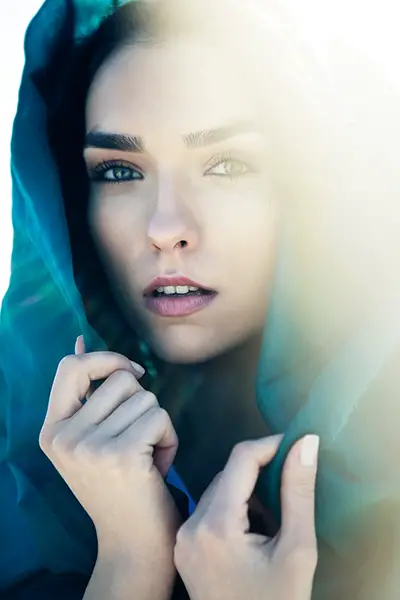
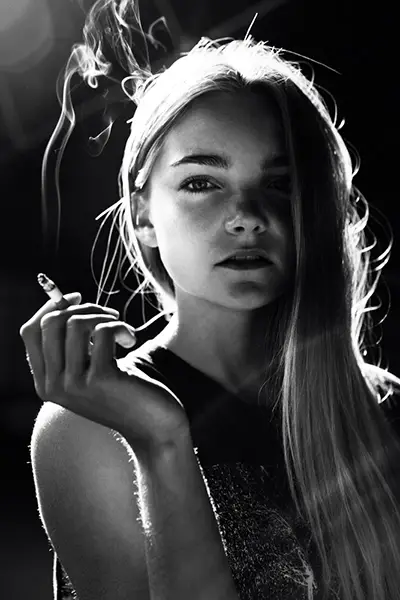
However, if you can control the natural backlighting, it will give you excellent and dramatic results. Here are just a few examples of captivating summer portraits with powerful lightning.
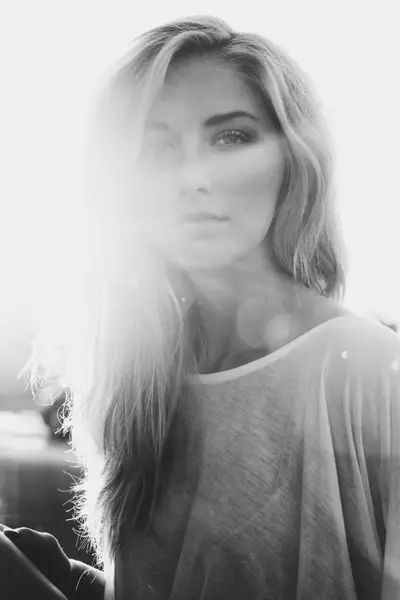

The lighting gives the photograph an artistic quality, which makes it stand out from portraiture with flat lightning. The only lightning used is natural light from the sun – no advanced equipment, studio lightning or flash have been used.
Your model will not have to squint, and the skin turns out beautifully without any unflattering shadows on the face. Here are three factors that will determine your final outcome:
1. POSITION OF THE SUN
It is essential to choose where in your frame you want to place the sun – only thereafter it is possible to get the exposure right.
Basically,there are three options: The sun behind the model, outside the frame or in the actual shot. The last option is the most difficult, since it gets considerably harder to compose the shot.
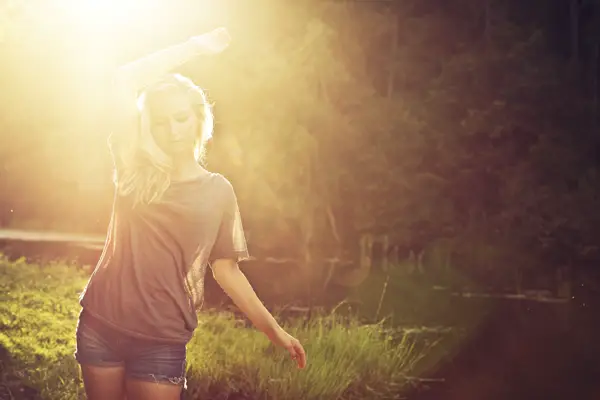
A good alternative is to place the sun just outside the frame or partly behind the model:
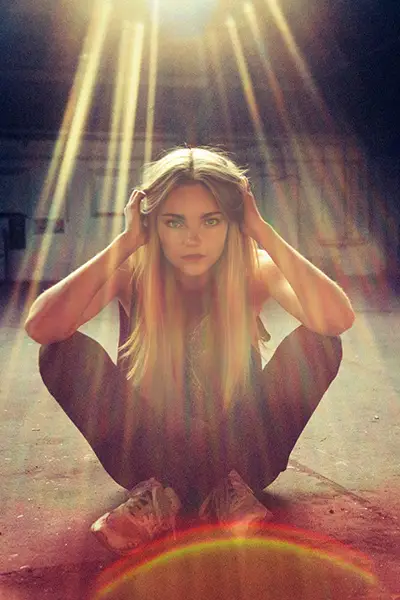
It is a good idea to keep the majority of the sun blocked and avoid too much light. In order to create the desired golden outline, you do not necessarily have to wait for the golden hour, namely the first or last hour of sunlight during the day.
An afternoon sun which is still fairly high in the sky can also work out:
It is advantageous to have your lens in the shade. A lens hood is useful while shooting with backlighting.
Another option is to use your left hand to create a small spot of shade for the camera. This is honestly quite challenging, so a natural shade or a helping hand is preferable. When you have composed your shot and found the right angle, exposure is the next step.
2. CAMERA SETTINGS
First, aperture. All the presented photographs are shot with a wide aperture in order to achieve the characteristic lens flare. Likewise, it gives a shallow depth of field. The aperture varies from f/2.8 to maximum f/5.6.
When shooting with a strong backlight you definitely want to use the manual settings. The picture has to be significantly overexposed, otherwise the model will turn out completely dark and the background/sky correctly lit.
Therefore, select your wide aperture and experiment with the shutter speed. Try to take a few shots with auto settings just to get a sense of where to start experimenting. Mostly it varies from 1/100 to 1/640 seconds.
Another way of finding the right shutter speed is to measure the light with the spot metering. Here the camera will only measure a small area of the photograph – point at your subject and avoid underexposure.
Second, the camera’s focus. One of the hardest parts of shooting the perfect backlit portrait is control the focus. Cameras are definitely not very fond of shooting against the sun – frequently the autofocus does not work at all.
You might look in the viewfinder just to realize that you are completely blinded, and cannot see your subject by any chance. This is one of the most problematic parts of shooting with backlighting.
Give up trying to make it work with autofocus; it is an extremely time consuming process. Either ask your model to block the sun and get your autofocus right in order to shift to manual, or simply try to adjust the focus and keep a fixed distance to the model.
Third, keep your ISO as low as possible. There will be plenty of light to work with. All the shown photographs are shot with ISO 100.
3. THE EDIT
Far from all your shots will be perfectly focused with a correct exposure. The most important thing is to have your golden outline, sunrays or lens flares in the shot. The exposure can be adjusted and the flares intensified with some simple Photoshop work.
Always shoot in RAW to have the best editing possibilities.
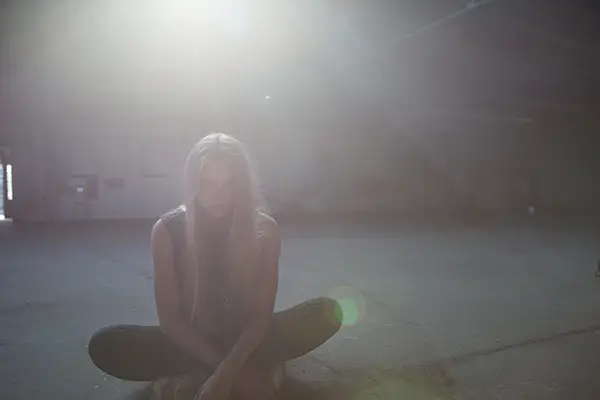
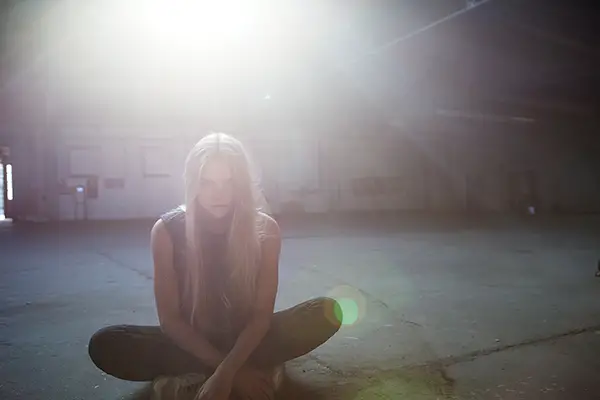
Here is an example of an unedited photograph with the sun just outside the frame. The sunrays and flares are clearly visible, however the photo lacks contrast and color.
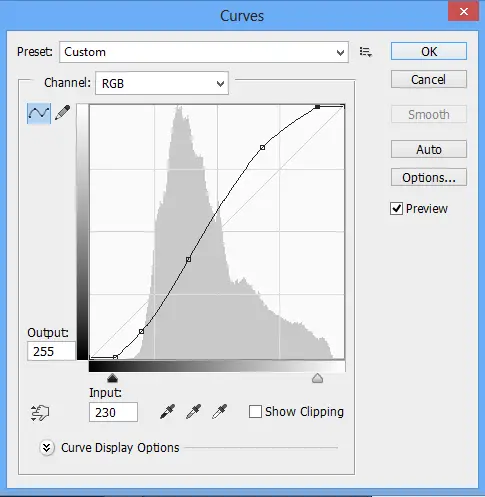
1. Light and contrast. Adjust the light using curves. Increase the highlights and intensify the shadows as well to create the vivid contrast:
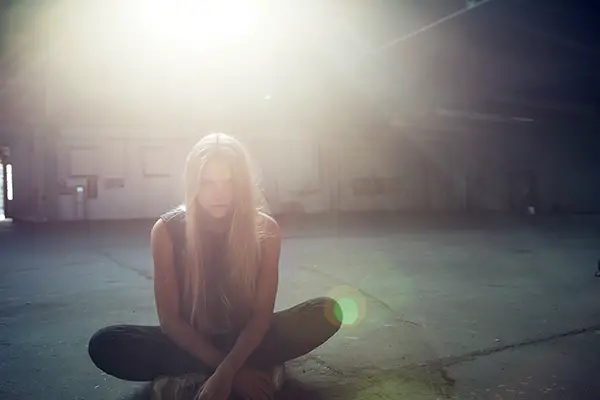
2. Colors. Experiment with “Color Balance” and “Curves” to achieve the desired color tone. For instance intensify yellow and velvet.
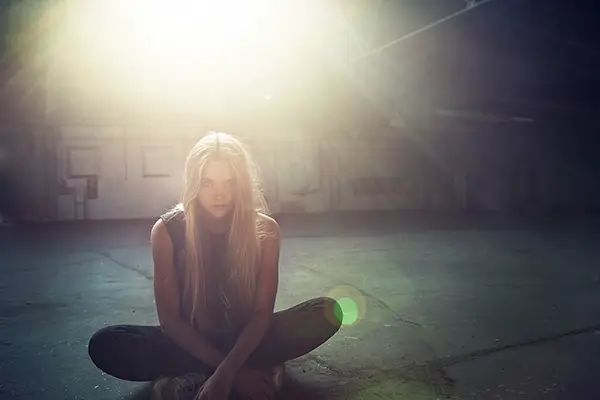
3. Burn/dodge. Make your photo even more captivating by dodging the lens flares and sunrays. Dodge some of the model’s features as well. Thereafter burn the corners of the photo and areas that lack contrast. The final result:
The techniques are quite simple, however it obviously takes some practice. Start experimenting and succeed in creating these vivid portraits with a powerful atmosphere.
Thank you for reading! Let us know about your experiences with backlit photography in the comments below, and feel free to like & share this post with your friends!
About the author: Greta Tuckute is an eighteen year old photographer currently located in Denmark. Mainly shooting portraiture and travel. Loving art, lakes, coffee, books and sports. Wanting to experience the world. You can visit her website and find her on Facebook.


Great tips! I love shooting backlit photos, but never would have thought to edit them in such a way, I like that you thought to dodge and burn, I too will have to use it next time I edit some backlit photos 🙂
thanks a lot!
Dėkui už pamokymus 🙂
Thank you for this insightful post.
I think that it’s crucial to mention a very useful tool for shooting backlit portraits, namely, reflectors. Since the model might turn out really dark or the highlights blown out, it’s nice to reflect some light back at the model’s face just to even the lighting a little bit.
Lol…captivating? That’s not a word that I would use to describe the first 5 photos…how about can’t make out the models face at all because of excessive lens flare…lol…
Not well done in my opinion.
make that the first 2 photos…not 5.
Your probably one of those fake photogrpahers that will pay little girls to pose nude.
@bob: what a ridiculous comment to make on an article that is specifically about portraits that incorporate lens flare.
I think this is an excellent article. Thank you very much to the poster.
Hi, Very informative post. You’re right that controlling the
focus is one of the toughest parts of shooting the perfect backlit portrait and
that the cameras are definitely not very indulgent of shooting against the sun,
usually the autofocus does not work at all. What I did when I experienced this
is I just simply try to adjust the focus and keep a fixed distance to the
model.
“Far from all your shots will be perfectly focused with a correct exposure. The most important thing is to have your golden outline, sunrays or lens flares in the shot. The exposure can be adjusted and the flares intensified with some simple Photoshop work.”
or you could just learn how to meter and compensate correctly and get it right in camera…
What color is “velvet”?