Are you looking to create an image with a transparent background in Photoshop? Which is the best method? How do you save the final image in different file formats? Which formats allow saving transparent backgrounds? What are the use cases for transparent backgrounds?
If you need help with any of these, the following article will answer all of these questions in depth.
There are different methods for creating images with transparent backgrounds in Photoshop including magic wand, quick selection tool, and quick removal. To save transparent background in Photoshop, you have to follow a few specific steps and pick the correct save options for each file format, such as “Save Transparency” for TIFFs. I will describe them below.
First lets briefly touch on why you would want to save your photo with a transparent background.
What are the uses for images with transparent background?
There are numerous uses for photos and images with a transparent background.
To create an animation
It is easy to create animations using photos that have transparent backgrounds. An animation will need multiple images. These images need to be stacked to create the animation effect. The process of animating a subject becomes a lot easier if you have a sequence of pictures with transparent backgrounds.
For poster design
If you are working with posters, you will be interested in placing the objects in the poster without any background. In such situations, transparent images will be of great help. It will make the poster designer’s job a lot easier.
To create sketches
When you want to create sketches of a subject using Photoshop or any other editing tools, the background can become distracting. So a picture of the subject without the background will be helpful.
To create a 3D effect of the subject
When you create a 3d image of the subject, you will be using multiple copies of the same image with a transparent background. Here, a few copies will be stacked with other images to create depth.
For creating logos
Some logo creators make use of the subjects in the photos as their logos. In such cases, you will have to remove the whole background from the picture to get a transparent image with the subject alone.
To use in videos
Sometimes you will need transparent images of your subject while creating videos. For example, many wedding photographers create images of the bride and the groom with a transparent background. These pictures will be used in the video.
To use for graphics in games
People who are into creating games make use of lots of transparent images. They need such pictures to create characters and for different scenes.
For combining multiple subjects
You may want to pick different individual subjects from different photos and combine them to make a single image. In such situations, creating transparent background images of the subject will make life easy for you.
How to make the background transparent in Photoshop?
There are many ways by which you can make the background in an image transparent using Photoshop. (If you don’t have this great program yet, you can buy it here)
Any of these methods can be used to get the transparent background in your photo. Here we go:
Magic Wand Tool Method
Using the magic wand tool is one of the easiest methods to make the background transparent using Adobe Photoshop.
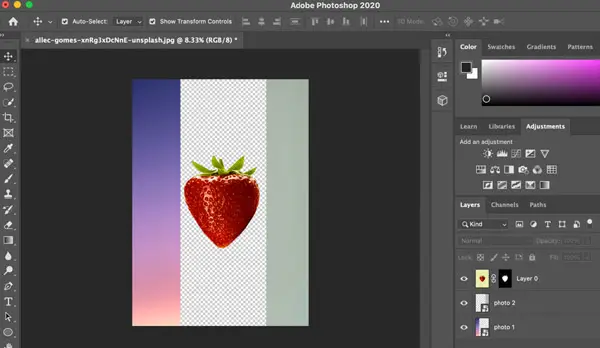
I have imported an image of a strawberry with a yellow background. I want to remove the whole yellow background in this picture and want the picture of the strawberry alone with a transparent background.
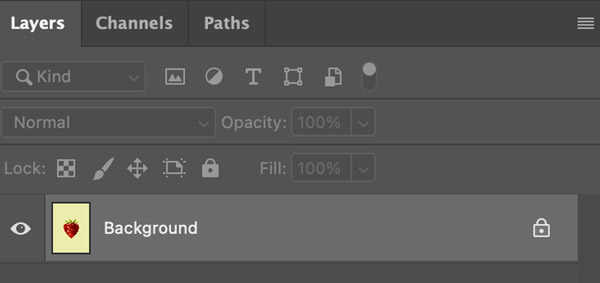
Click on the lock button, the photo thumbnail on the right side. Now, you can see that the “Background” will get changed to “Layer 0.” We need to convert the image into a layer to do all the edits.
After unlocking the image, click on the “Selection tool” in the left side toolbar and select the “Magic Wand tool” option. The magic wand tool works good when you have a plain background like in this image. After selecting the magic wand, click on the photo background.
Now, you can see that the whole background of the image is selected automatically.
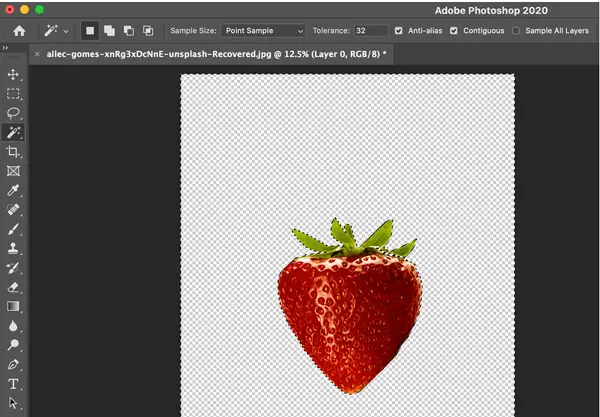
Hit the “Delete” button on the keyboard to delete the background.
Now, you can see that the background of the picture has become fully transparent.
Quick Selection tool method
The magic wand tool will not work properly if the background is variable.
In such situations, you can use the “Quick Selection Tool.”
I will open an image of a flower in Adobe Photoshop. In this image, the background is not a plain one, unlike the previous image. Instead, it is a blurred background with lots of leaves. So, it will be tough to get a proper selection of the background with the magic wand tool.
Click on the lock button to unlock the picture. When you unlock the image, then the name “Background” will get changed to “Layer 0.” So, we have changed the image to a layer for our edits.
Select the “Quick Selection Tool” from the “Selection Tools” on the left side toolbar.
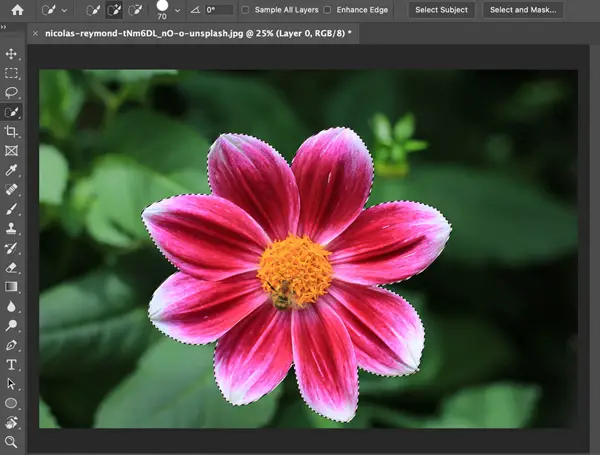
You can click on the mouse and move the quick selection tool inside the flower. You can see that the different parts of the flower are getting selected. Continue this process to select the whole flower. You don’t have to do a precise selection here. A rough drawing with the mouse inside the flower will do. The edges of the flower will be selected automatically by the software.
Now you have selected the flower. But, what you want to select is the background. So, click on the “Select” option from the top toolbar of Adobe Photoshop and select the “Inverse” option. Now, only the background will get selected. Then, click on the “Delete” button on the keyboard to remove the background.
Now, you got the flower alone with a transparent background.
Quick removal method
If you are using the new version of Adobe Photoshop, then the process of removing the background is really easy.
First, I will open another image in Photoshop.
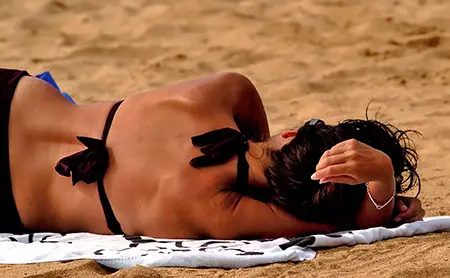
This time, I will import the portrait shot of the lady with lots of clutter in the blurred background. In this image, it is really difficult to get a proper selection of hair using any of the quick selection tools.

So, let us start by clicking on the lock symbol to unlock the image. Once the image is unlocked, the name “Background” will get changed to “Layer 0.”
Click on the “Window” menu in the top toolbar. Next, select the “Properties” option.
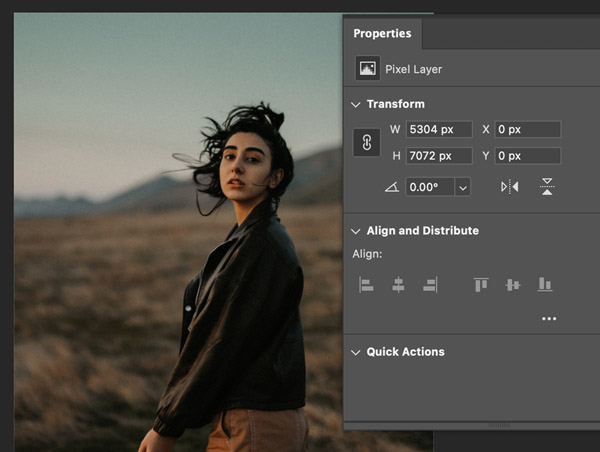
A new window will pop up. You can see the “Remove Background” option in the “Quick Actions”.
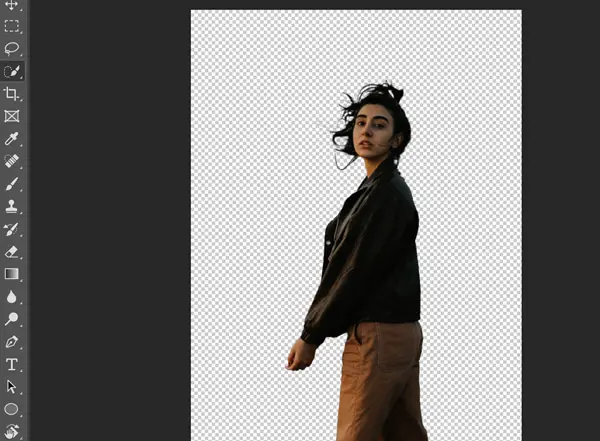
Click on the “Remove Background ” button here. If you don’t see the “Remove Background” button, then click on the “Quick Actions”, it will show up. The processing will start using the AI algorithm in Adobe Photoshop, and you can see the subject without any background in few seconds.
Here, there is no clipping of hair from the subject. It does a very good job of removing the background without removing the hairs of the lady. So, this method is the best method to make transparent backgrounds. It is easy to execute also.
You can also refer to this video tutorial from N.S. Creation:
Can you save a transparent JPG in photoshop?
Once you are done with the removal of the background, you need to save the image.
If you try to save the photo in JPG format, then the background of the photo will no longer be transparent. It will become white. The JPG file format does not support transparency. So, you cannot use the JPG file format for saving transparent images. Never select the “JPG” file format when you are saving an image with a transparent background.
Which image formats in Photoshop support transparent backgrounds?
After completing the editing process, you need to ensure to save the image in the right file format. If you go with the wrong file format, then you will end up creating a white background for your image. Only a few formats support transparency. TIFF, PNG, and GIF are the file formats that support image transparency. So, you need to ensure that the final image is saved in any of these formats. You also need to select the proper transparency option when saving.
How to save an image with a transparent background?
Once you are done with removing the background from the image, you need to save it. We can save it in PNG or GIF, or TIFF format. Among these file formats, PNG is the most popular file format for transparent background images.
Click on the “File” menu in the top toolbar of Adobe Photoshop. Select the “Save As” option from the drop-down menu.
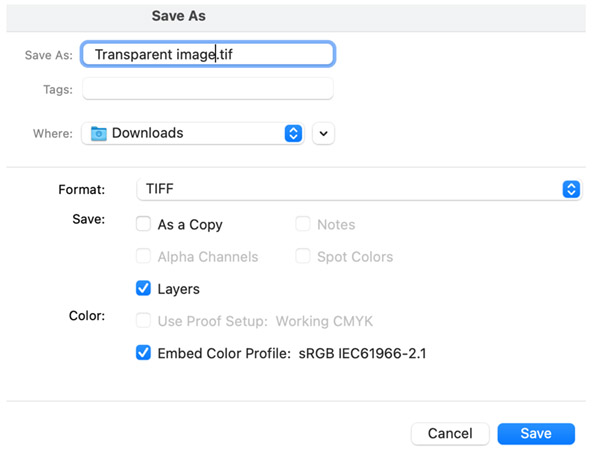
A new window will pop up. Next, you need to select the TIFF, GIF, or PNG format in the “Format” section.
TIFF
If you plan to go for the “TIFF” file format, select it and click the “Save” button.
A new window will pop up. Here, you need to ensure that the “Save Transparency” checkbox is ticked (located at the bottom left side). Otherwise, you will not get a transparent background. Click “OK” to save the image.
PNG
If you want to save it as a “PNG” file, then select that option and click the “Save” button.

A new window will pop up asking for the file size. Here, you can select, Large, Medium or Small depending on your use case. If you are planning to use the image for posters or for printing then you can go for the large file size. If it is for web use, then the small or the medium file size will be good.
GIF
If you want to use the “GIF” file format, select it and click the “Save” button.
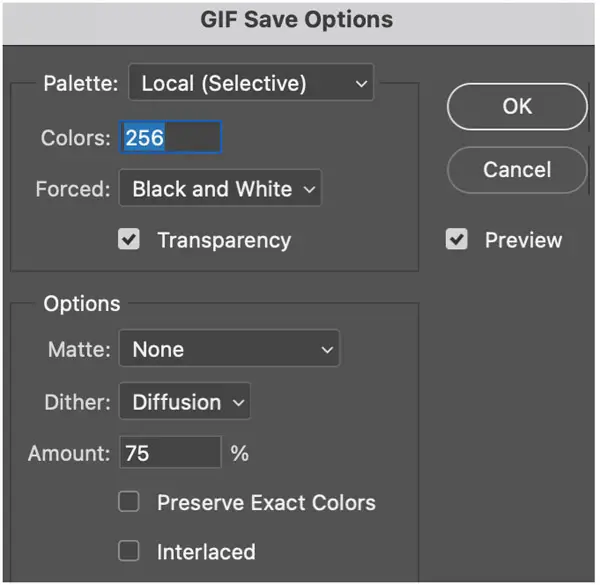
A new window will pop up. Here, you need to ensure that the “Transparency” check box is selected to get the transparent background.
How to export layers as transparent files in Photoshop?
You would usually create a transparent layer when you are working with multiple layers for a project. But if you try to export the image as a whole, then the other layers will also get exported.
If you want to export the transparent layer alone, then you can use the following method:
Right click on the transparent image layer. Select the “Export as” option from the long list of menu.
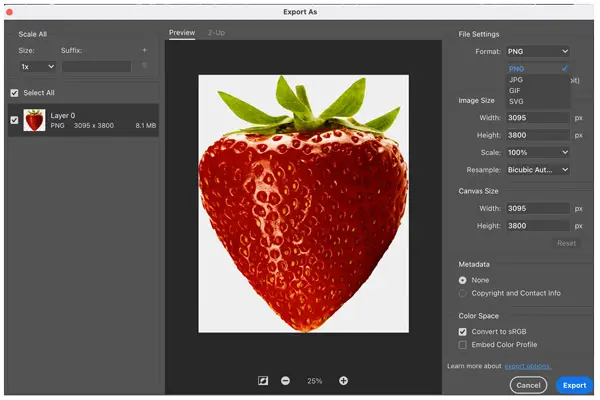
A new window will pop up. Here, you can either go for the “PNG” file format or the “GIF” file format. If you are selecting the PNG format, then ensure that the “Transparency” checkbox is always ticked. After selecting the format, click on the “Export” button to save the image.
When you right click on Layer 0, you can also click on the “Quick Export as PNG” option to save the picture as a PNG file. But, the problem with this method is that it will not give you the options to vary the image size or the canvas size. These options are only available with the “Export as” option. So, you can choose accordingly. The quick export option will be good if you are happy with the current image size.
Which is the best transparent image file format for the web?
If you are interested in uploading a picture with a transparent background to the web, then you need to ensure that you save the final image after all the edits in Photoshop in the proper file format. The photo can be for your website or social media platforms.
All the image formats are not commonly supported on the web. The popular image file formats that are supported on the web include JPEG, PNG, and GIF. Out of these three popular file formats, only two formats support image transparency. The JPEG file format does not support transparency. Only PNG and GIF image formats support transparency. So, you must save the final photo in either of these two formats if you are planning to upload it to the web.
PNG Vs GIF for the web
When it comes to the web, you want to reduce the file size of the image as much as possible. It will help to load the pages faster.
The PNG file format offers better compression than the GIF format. So, the file size will be less for the PNG format which is very important when you have thousands of images on your website. PNG format also supports variable transparency or alpha channels. The transparency support is also better for the PNG file format. Therefore, PNG file format is recommended for transparent background images for the web.
I hope that this article did a satisfactory job of teaching you how to save transparent images in Photoshop and exporting them for various uses including the internet. Follow this link to get photoshop free.
Click here to learn how to enhance image details in Photoshop.


3 comments